Content
Categories
- General SWPanel (38)
- Administration (14)
- Database (14)
- SSL Certificates (15)
- Cloud (59)
- Cloud Storage (2)
- Containers (1)
- Backup Copies (6)
- Mail (33)
- DevOps (55)
- Domains (33)
- FTP (6)
- Hosting (32)
- Migrate Services (6)
- DNS Registers (13)
- Security (12)
- Services (7)
- Support (5)
- Users and privileges (2)
- Web (15)
- WordPress (23)
How to set up Contact Form 7 with WP Mail SMTP in WordPress
Contact Form 7 is a free plugin that allows you to create and manage Contact Forms for WordPress.
info For Contact Form 7 to work, it is essential to have the WP Mail SMTP plugin installed and configured. You can follow the guide below manual.
Installing the plugin
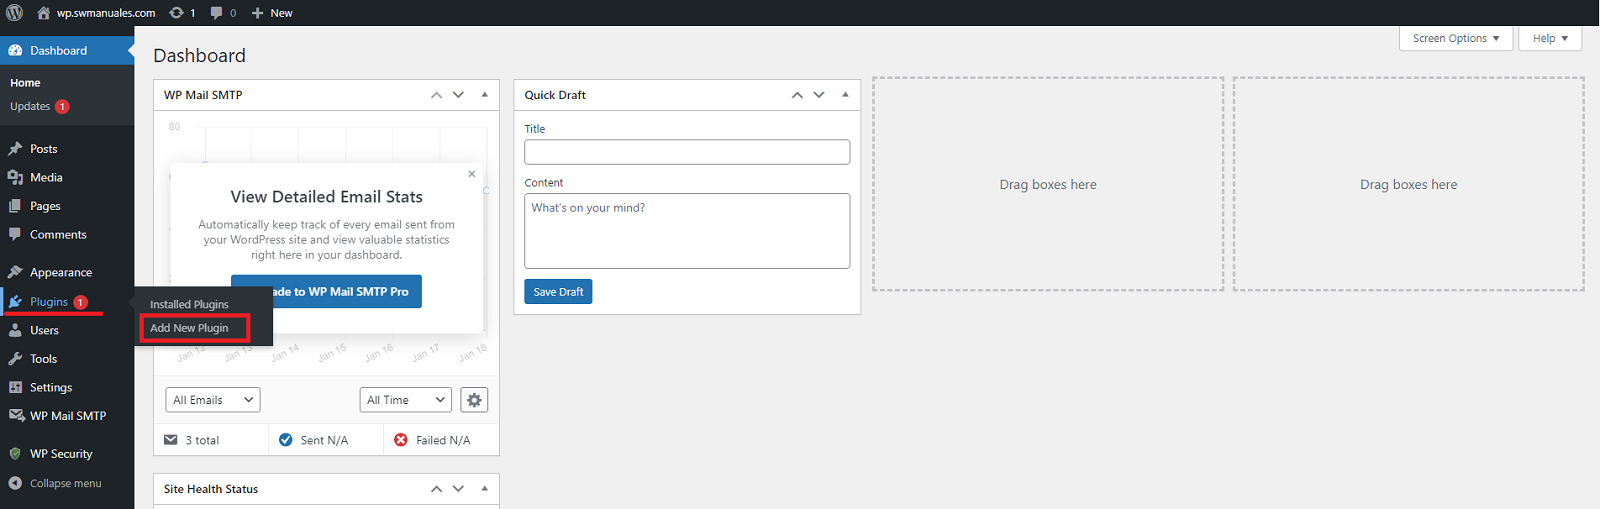
First, we will access WordPress and install the Contact Form 7 plugin. To do so, we will go to "Plugins" -> "Add new plugin":
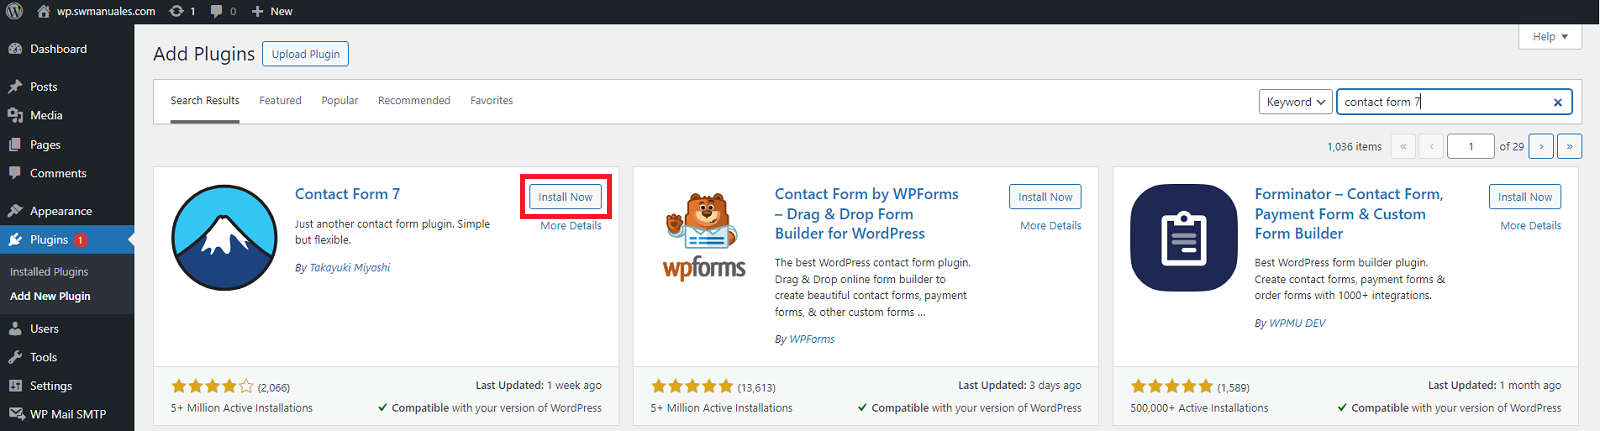
Search for the plugin in the top search engine:
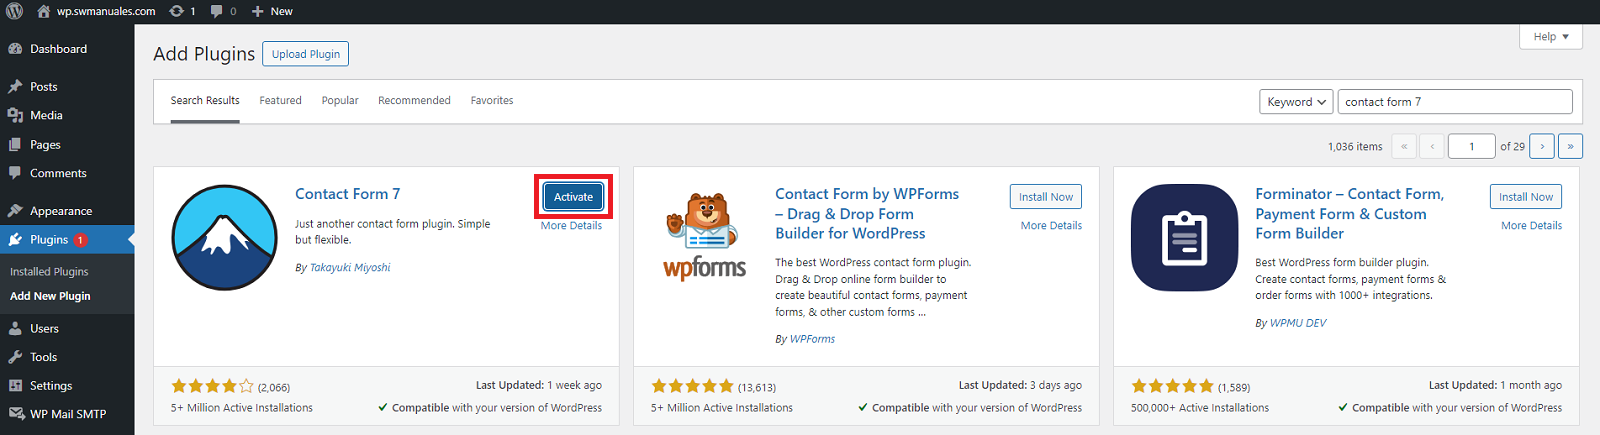
Once installed, click on activate:
Creation of the forms
To add or edit a form, click on the "Contact" icon and the "Add new" button.
We will name the form and save it:
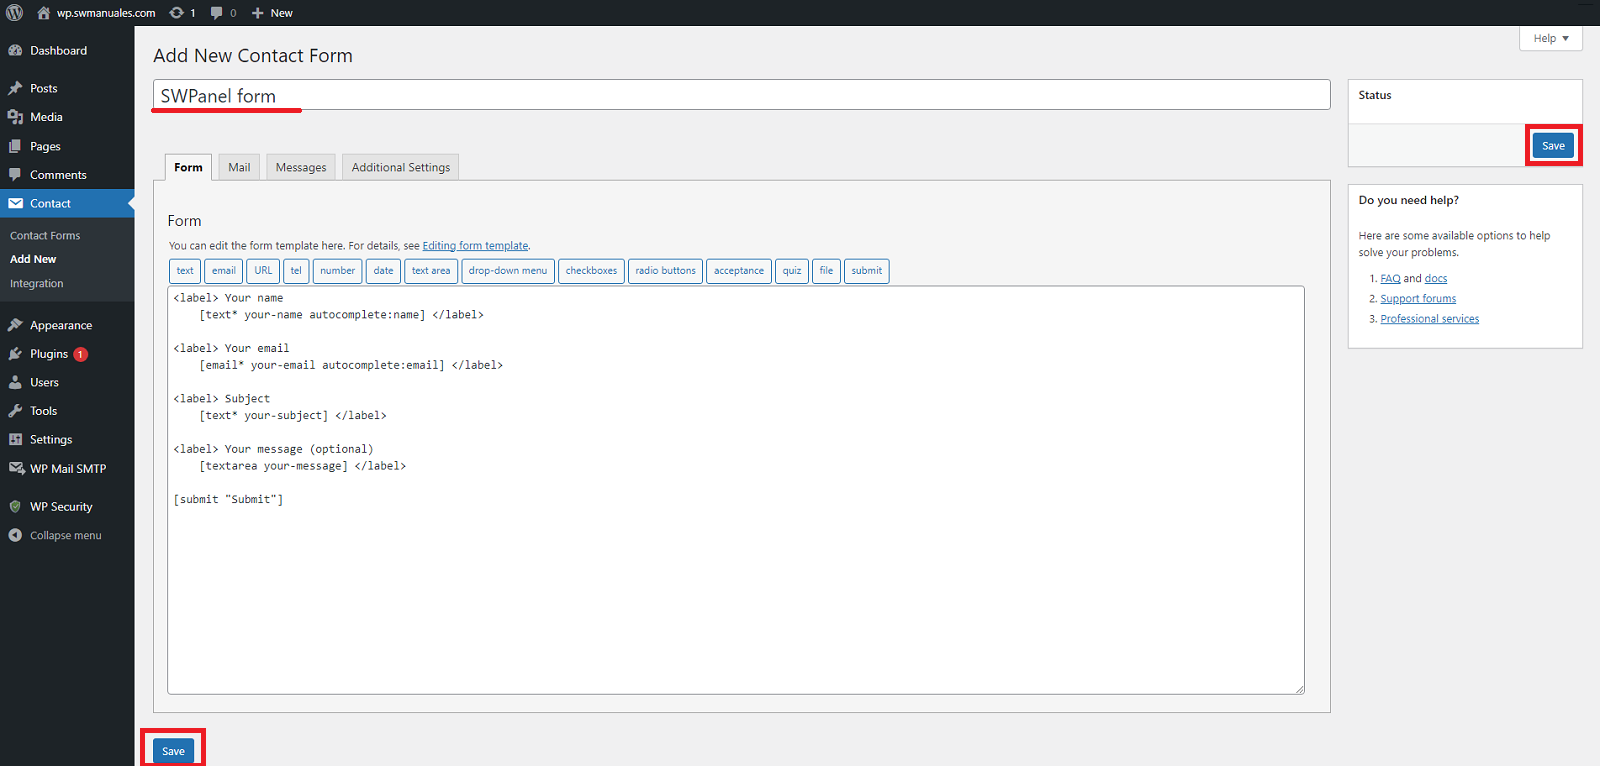
The "Edit contact form" page is divided into four sections.
- Form - Customise your HTML contact form template with a variety of field options such as text, email, checkboxes, etc. You can also type custom HTML in the form customisation box.
- Email - Customise the email template and settings used for notification emails.
- Messages - Customise the messages that are displayed after specific actions. For example, you can set a single message to display after someone submits a contact form.
- Additional settings - Specify snippets to enable additional features such as subscriber-only mode, demo mode, or mail skipping. Also allows the creation of code to be executed before or after specific actions.
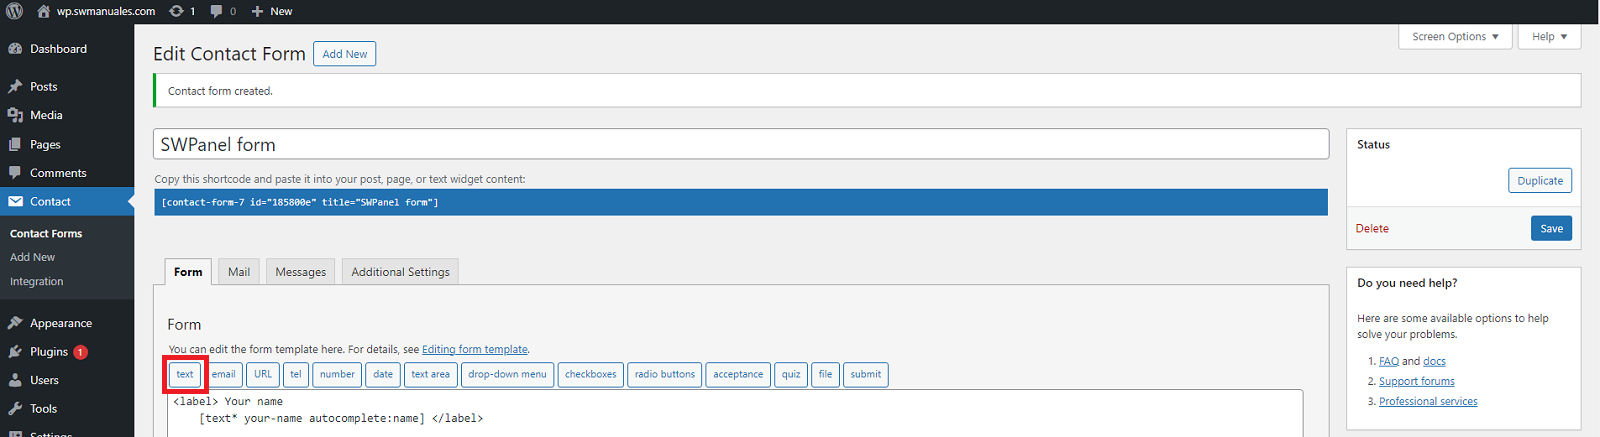
Form tab
You can use the various preset buttons to generate the shortcodes for the most commonly used data entry labels for a form.
- Text - Creates a form label for a single line of text. Text fields are useful for first names, last names and other text-based snippets that do not require multiple lines.
- Email - Creates a form tag for an email address.
- URL - Creates a form tag for a URL.
- Phone - Creates a form tag for a phone number.
- Number - Creates a form tag for a number. Unlike "text" or "text area" input fields, "number" fields only allow numeric digits.
- Date - Creates a form label for a date.
- Text Area - Creates a form label for a text area. Unlike the normal "text" input field, a "text area" field allows multiple lines of text. They are ideal for entering the body of the message.
- Drop-down menu - Creates a form label for a drop-down menu.
- Checkboxes - Creates a form label for checkboxes.
- Select Buttons - Creates a form label for radio buttons.
- Acceptance - Creates a form label for a validation box.
- Questionnaire - Creates a label to create a questionnaire with questions and answers.
- File - Creates a field for file upload.
- Submit - Creates a form label for a submit button.
Each of the data input types must be between '''<label>''' y '''</label>''' tags. For example:
 <label> Título
     [entrada_de_datos] </label>
The "Title" field will be the title/header that the user will see above the data entry field.
The "[entrada_de_datos]" field is the code provided by each of the above tags.
For example, if we want to add a text input field to our form, we will click on "text":
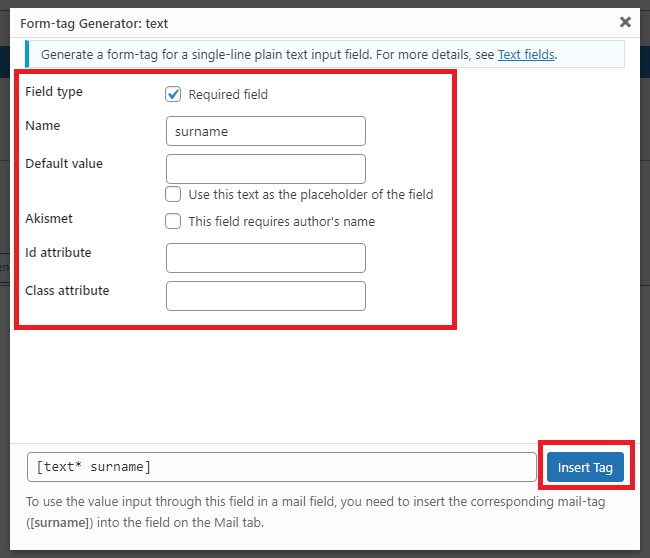
A window will appear with the following configuration options (each label has different options, you can check the guide for each label):
- Type of field: We can choose if it is compulsory to fill in the field.
- Name: This is the internal name we have to identify the field in the form configuration.
- Default value: The value that will be shown in the field if the user does not change it. It is shown as a text and if the user wants to modify it he will have to delete it manually.
- Use text as a placeholder for the field: The text that the user will see in the field if it is not changed. It is displayed as text, but will disappear when the field is clicked or a new value is entered.
- This field requires the author's name: This tag identifies a field where the user has to enter their name and will be processed by the Akismet filtering system (if configured) to determine if the form data is Spam or not.
- ID attribute: Assigns an ID to the field. Used to assign styles via CSS code.
- Class attribute: Assigns a class to the field. Used to assign styles by CSS code average.
Once the fields have been configured, we will click on insert:
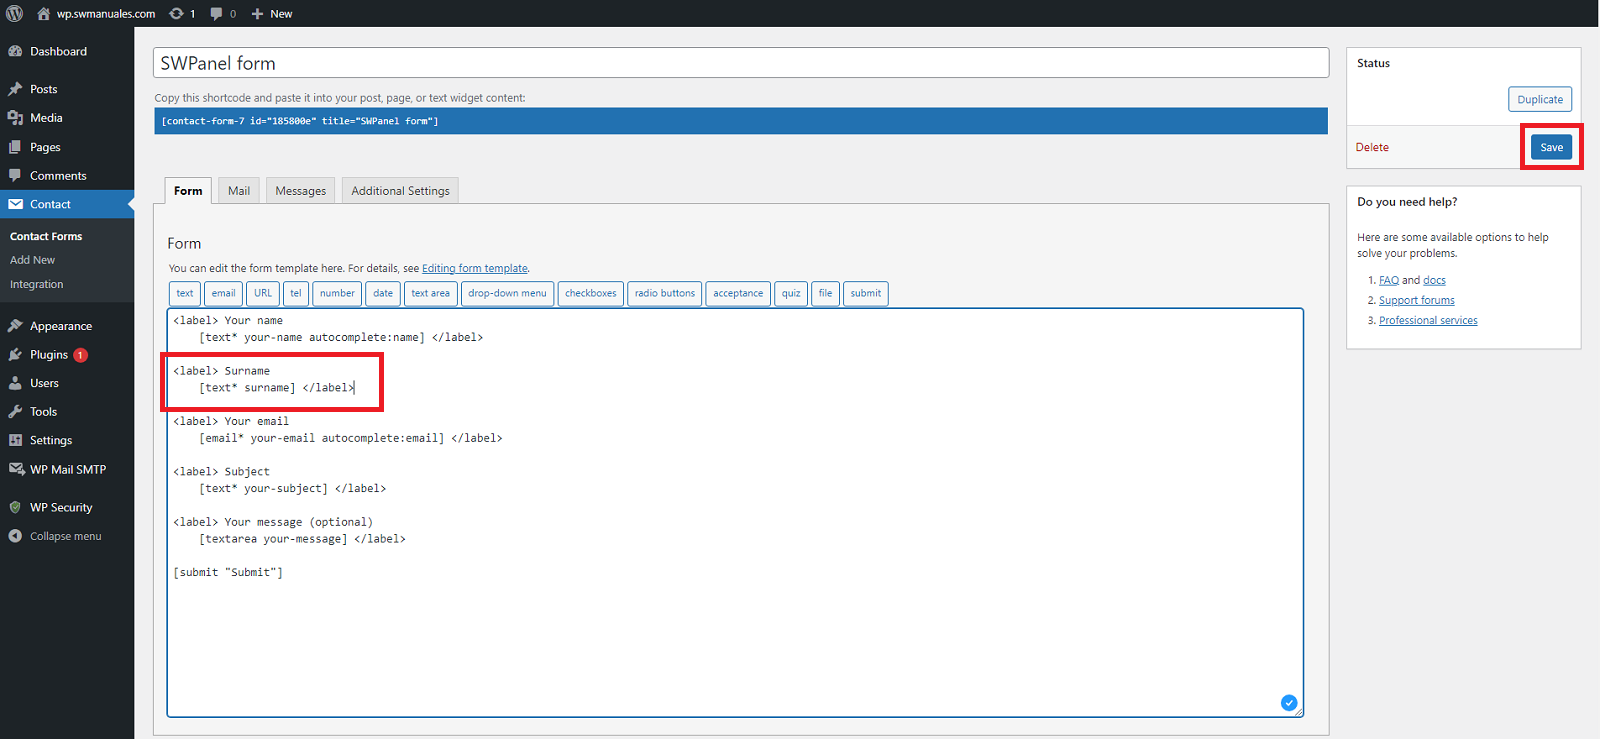
It will create the data entry that we will have to put between '''<label>''' y '''</label>''' tags. We can assign a title/header to the label:
<label> Apellidos:
     [text* apellidos]</label>
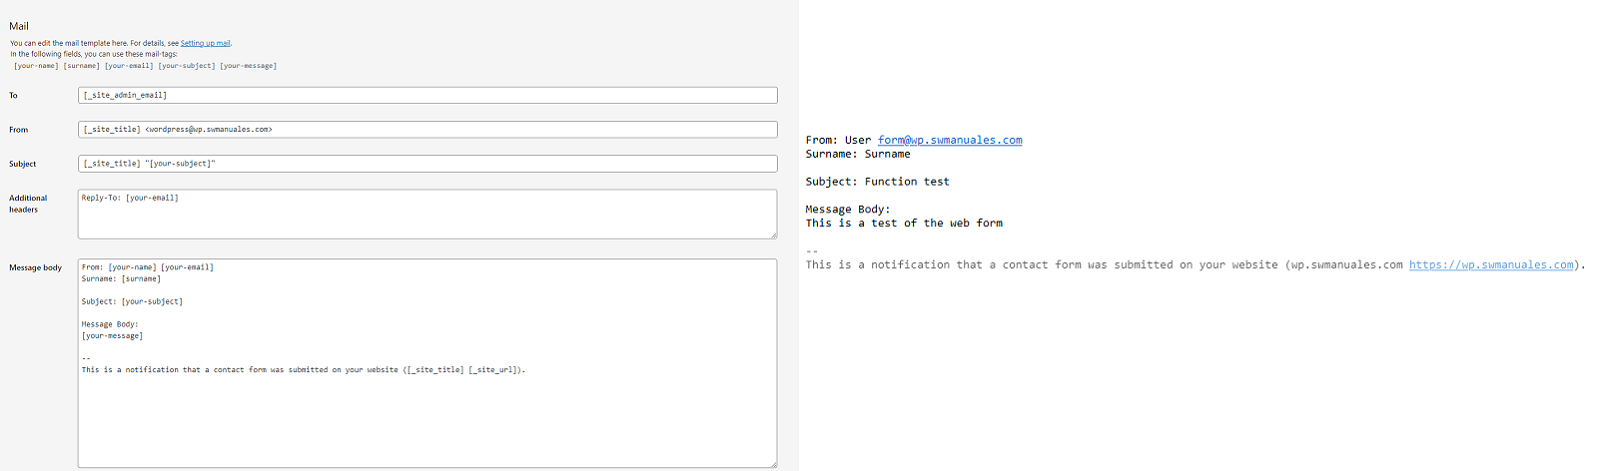
Tab Email.
In this tab we will define the template that will be used to send the e-mail when the user clicks on the send button.
By default, the e-mail is sent to the web administrator's account, from the account [email protected].
The subject is: "Nombre_del_sitio" + the subject that the user has entered in the form.
When you click on the reply button, once we receive an email, we will reply to the account entered by the user. And the body of the message will be the data entered in the different fields of the form.
In the upper part of the form, the names of the form fields will appear to be able to configure the template, they are the variables that will contain the different values/inputs that the user has introduced.
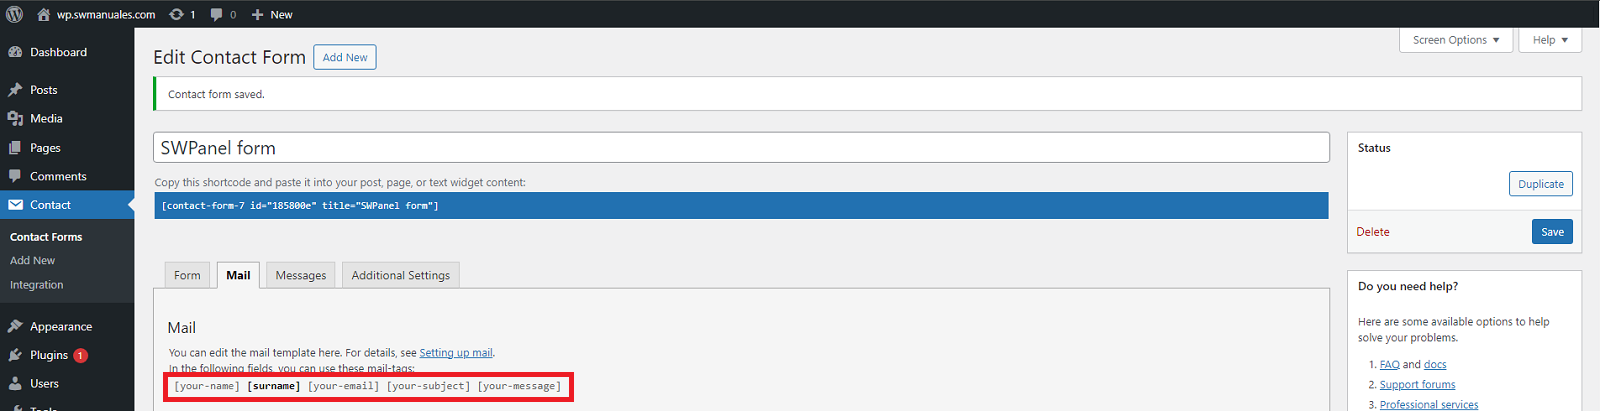
If we have fields for uploading files, the tags will appear in the "Attachments" section.
info We will have to save the changes made in the form so that the labels are updated.
For example, the following configuration on this tab will be received in the following forma:
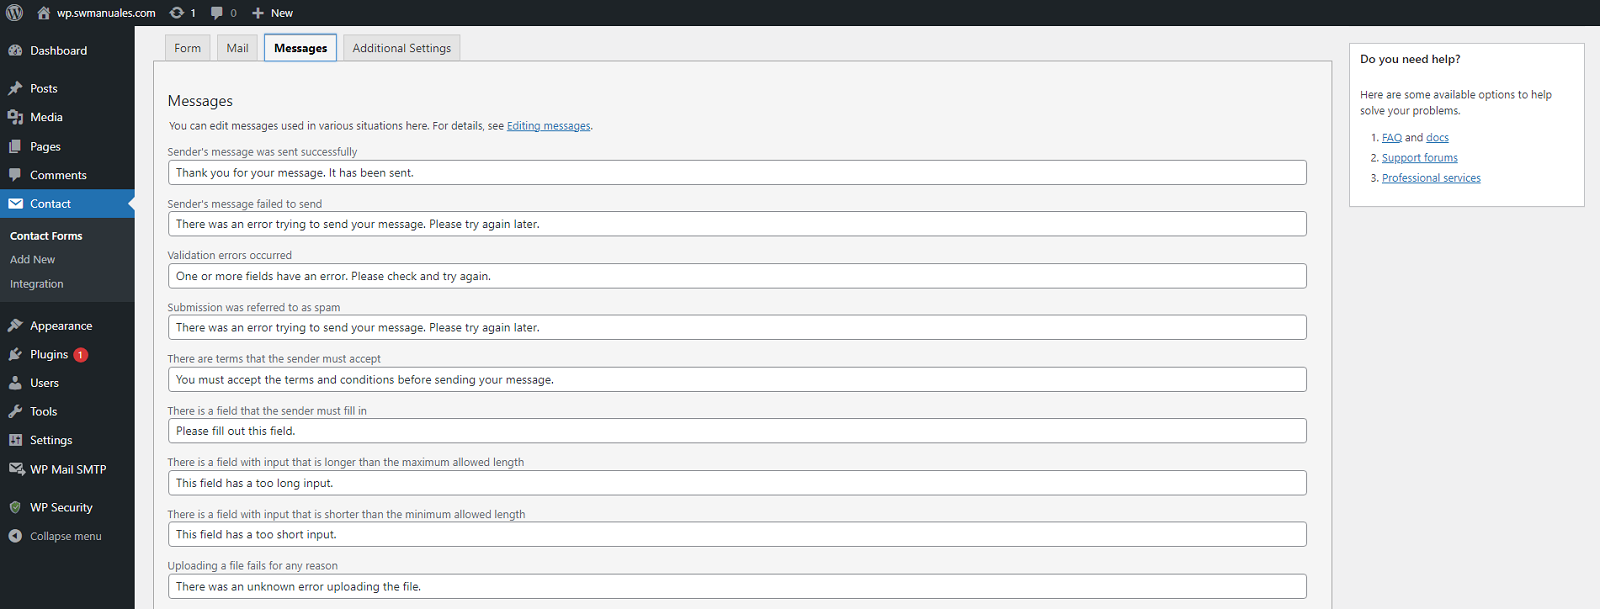
Messages tab
This tab allows you to customise the messages received by the user according to the status of the form: if it has been sent, if it could not be sent, if there has been an error...:
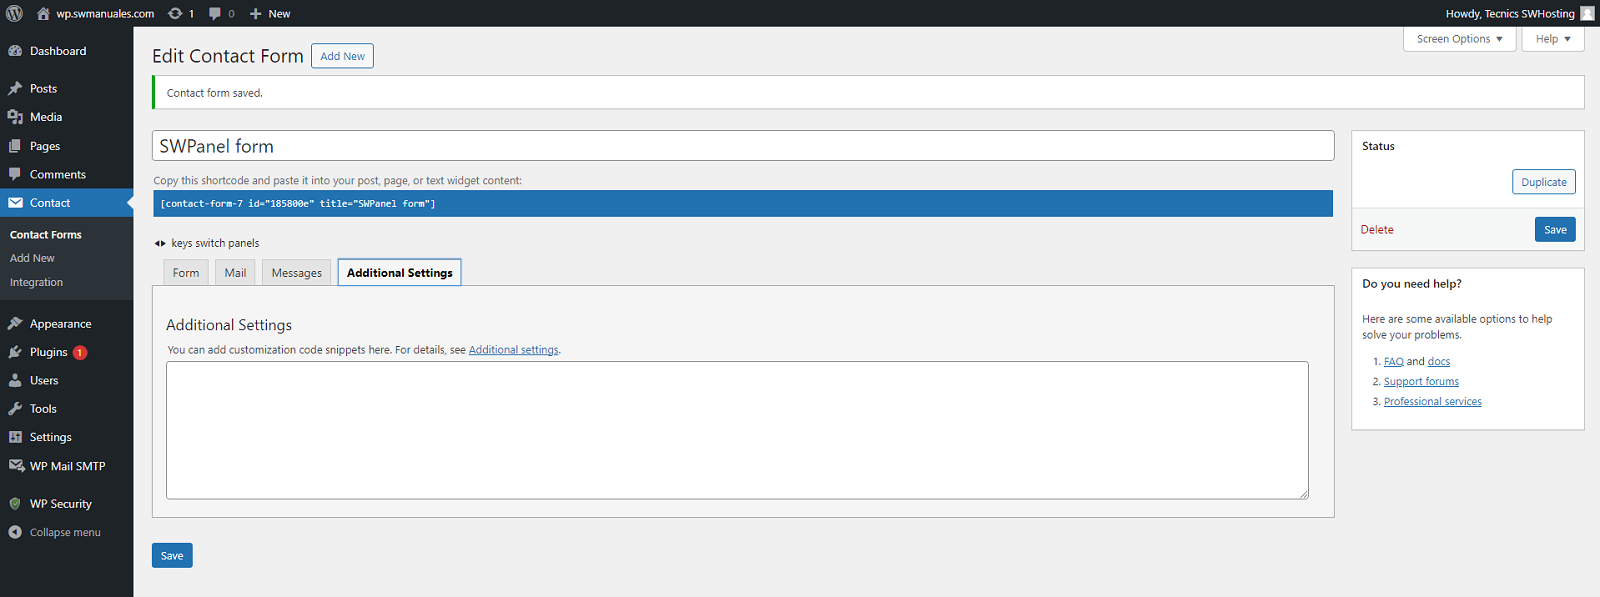
Tab Additional Settings.
From this tab you can customise additional functions. Both omission of mailing, subscribers only mode or the execution of custom functions at specific times of the form execution.
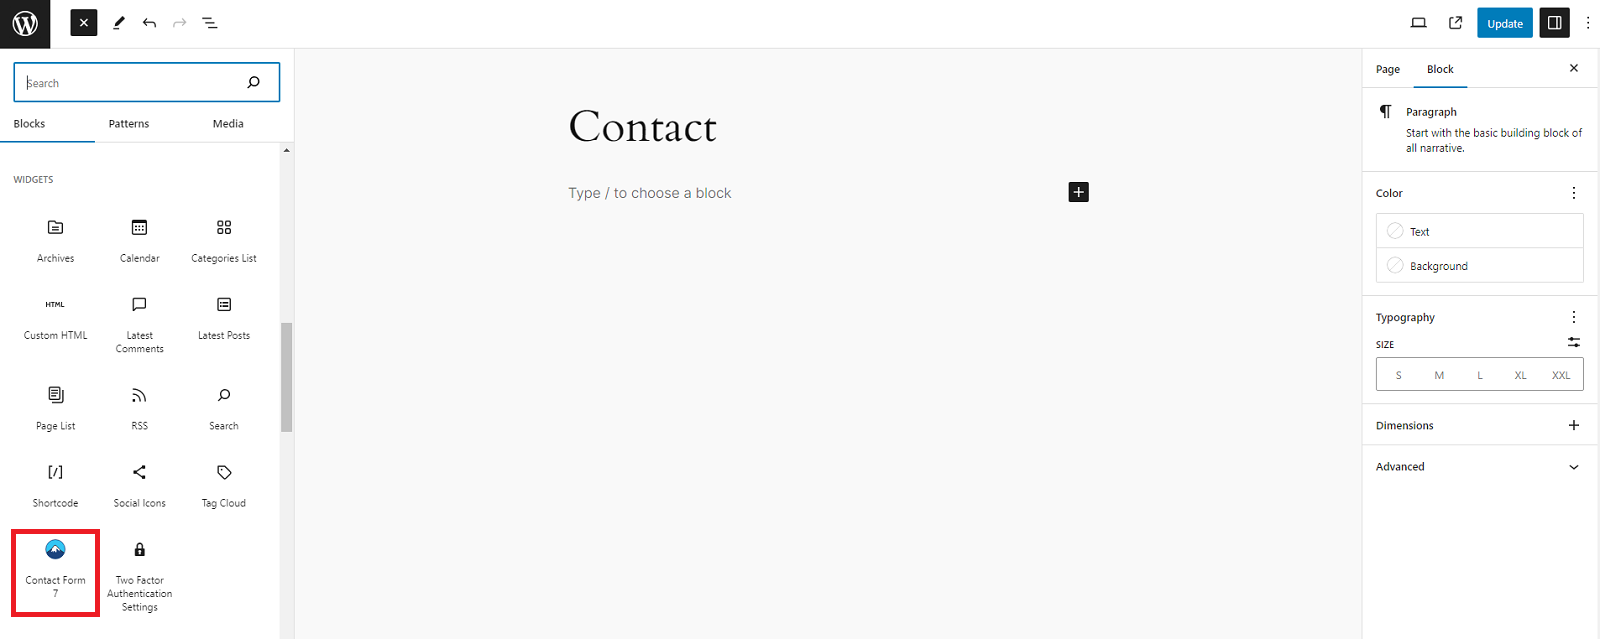
Adding the form to a page
From the page editor, we will add a new block of type Contact Form 7.
info Depending on the layout you use, the import of the block will change.
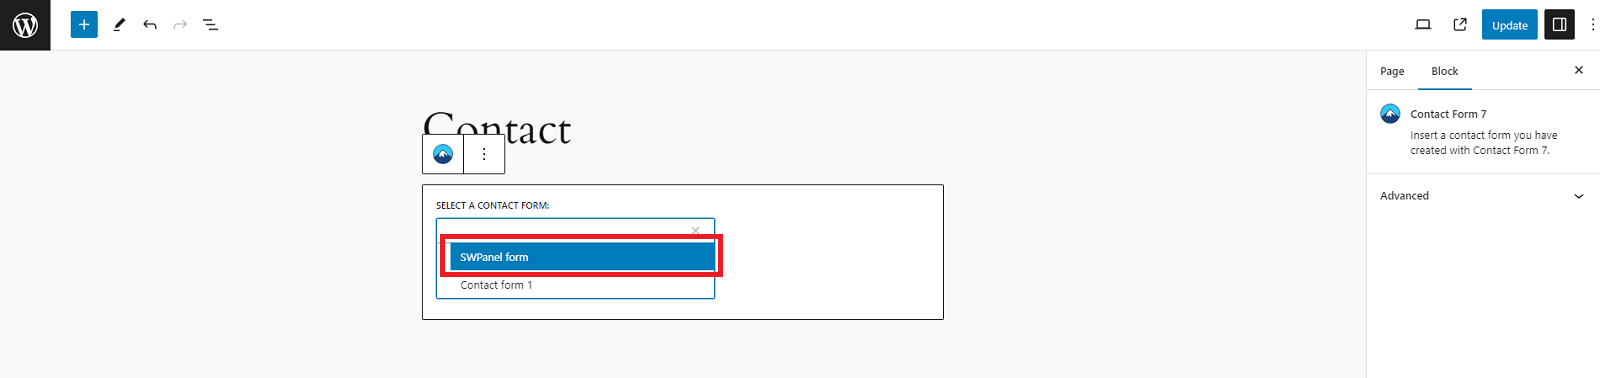
From the default layout, double click on the Contact Form 7 block to add it.
We must indicate which of all the forms created we want to be displayed:
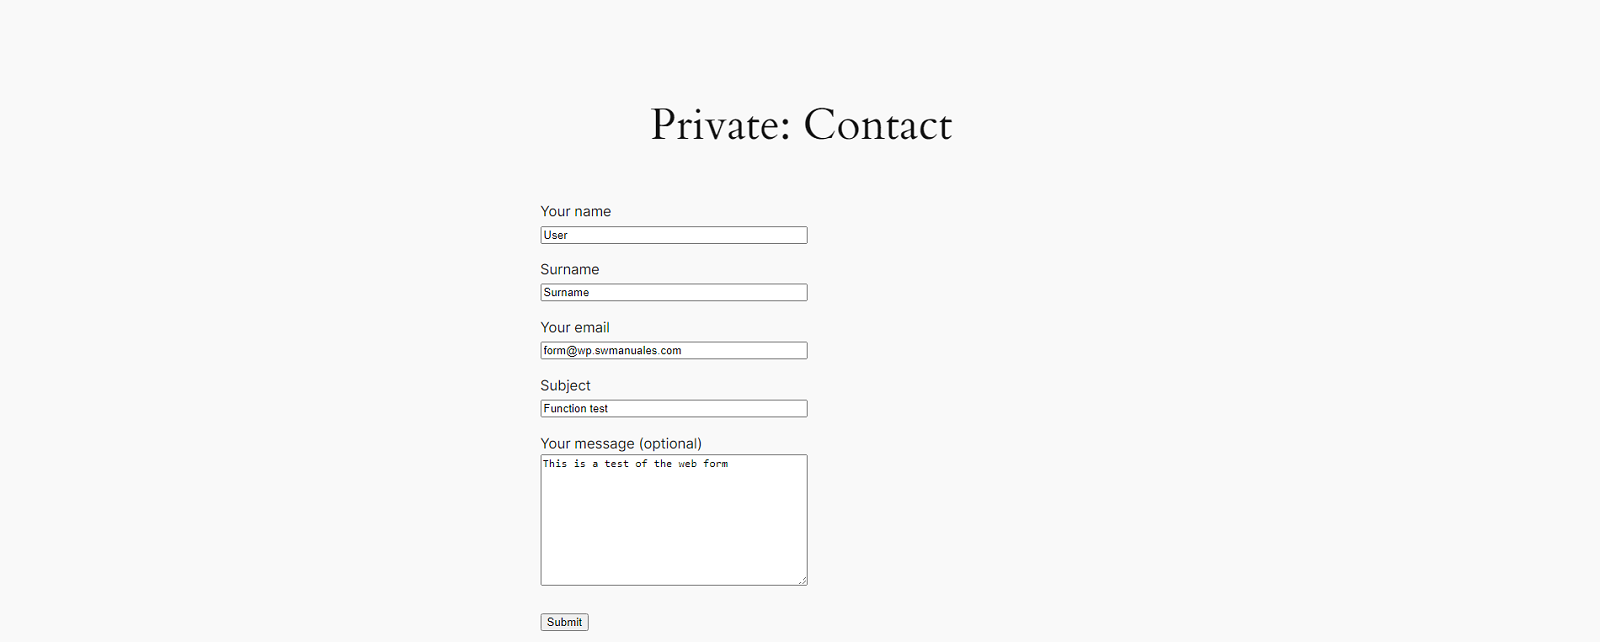
Functioning test
We access the page where we have added the form, fill in the fields and send the form:
The owner of the site receives the e-mail with the data:
