Content
Categories
- Administration (26)
- Database (13)
- SSL Certificates (15)
- Cloud (57)
- Cloud Storage (2)
- Containers (1)
- Backup Copies (6)
- Mail (33)
- DevOps (53)
- Domains (30)
- FTP (5)
- General SWPanel (35)
- Hosting (30)
- Migrate Services (4)
- DNS Registers (11)
- Security (10)
- Services (8)
- Support (5)
- Users and privileges (2)
- Web (10)
- WordPress (23)
How to configure my OpenVPN Client to connect to my Advanced VPN SSL with 2FA
To connect via OpenVPN, you must first login to your SWPanel with your VPN user and the password you have set.

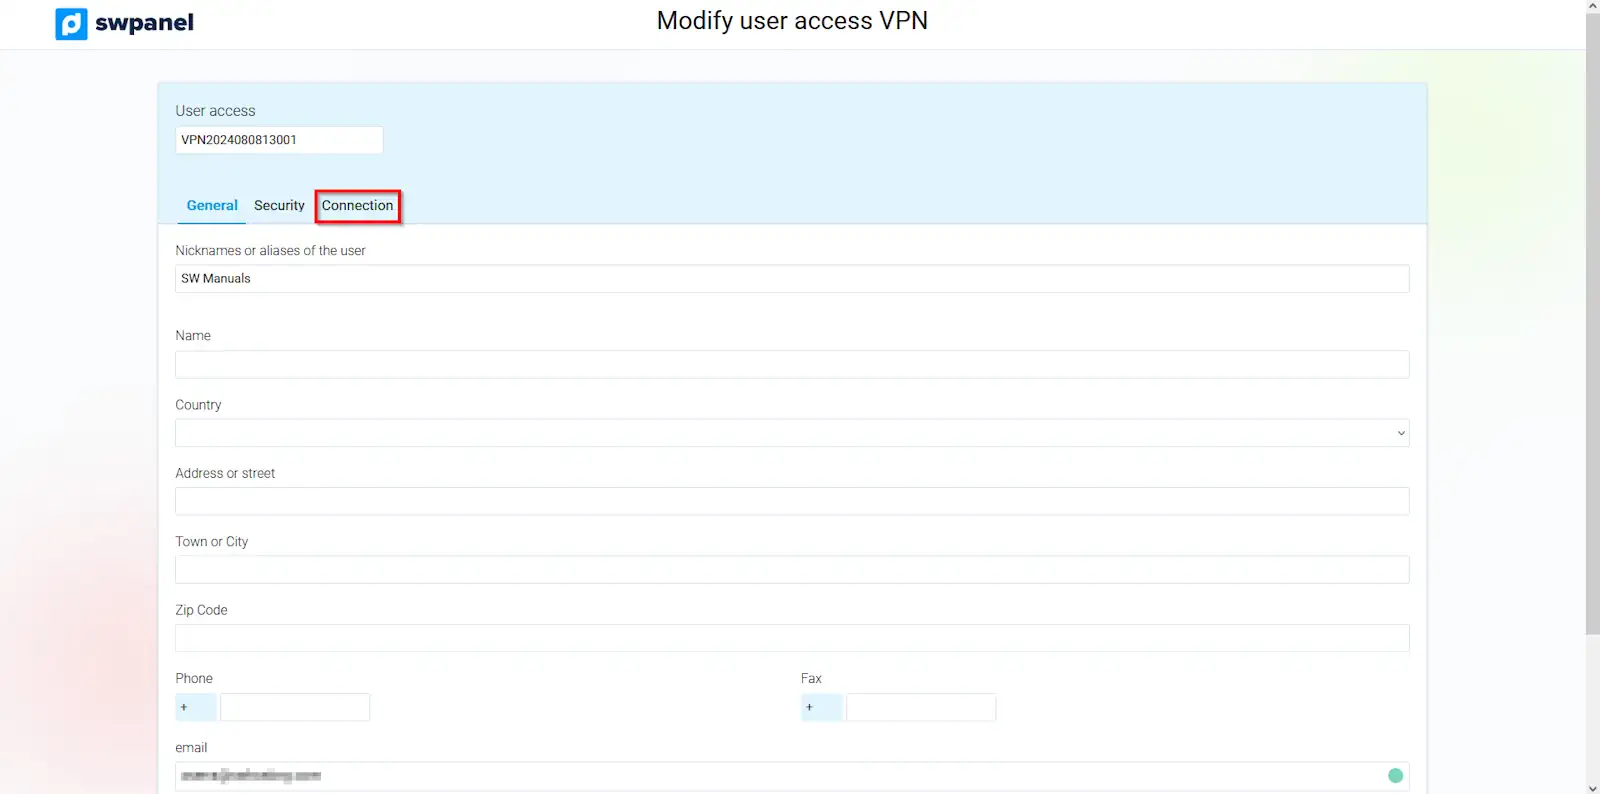
Once you have logged in, you must go to the "Connection" tab.
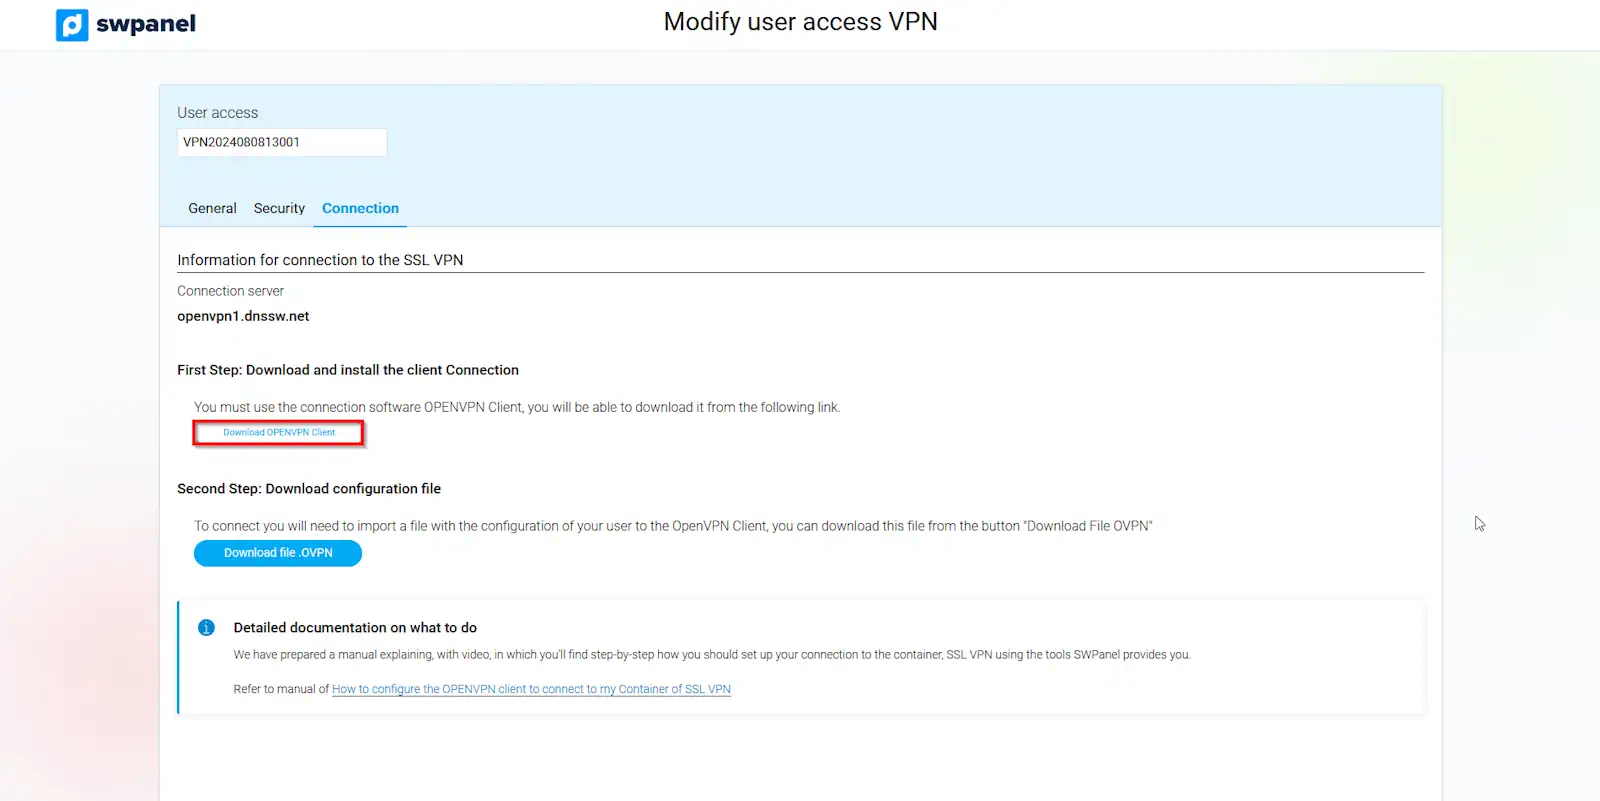
You will notice that the connection consists of two parts. For the first step, it would be necessary to download the OpenVPN Client software. To do this, click on "Download OPENVPN Client".
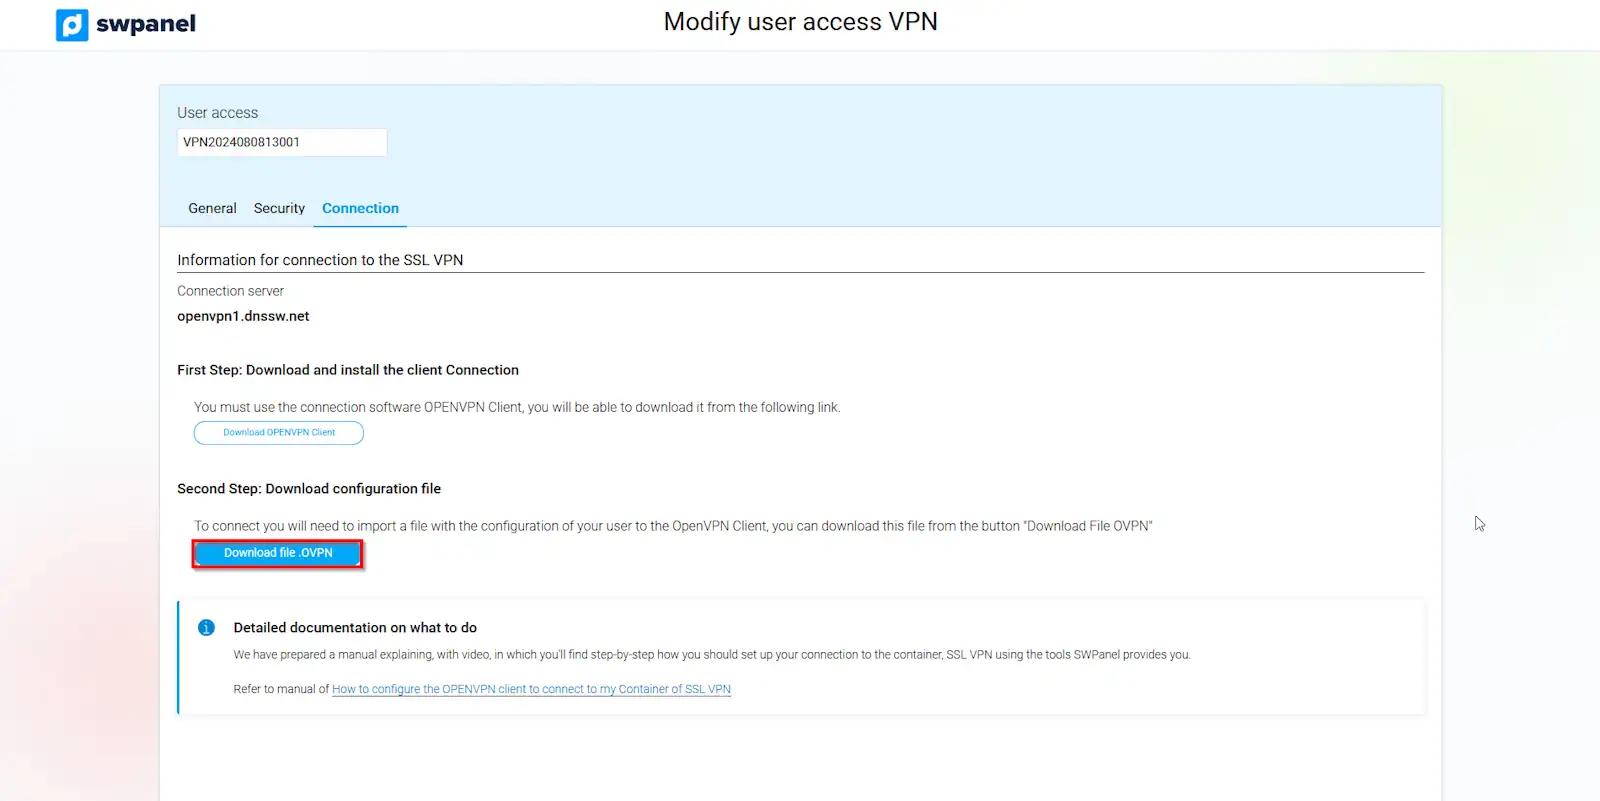
Once you have installed the OpenVPN software, you can perform step two of the connection. In SWPanel, click on "Download .OVPN file.
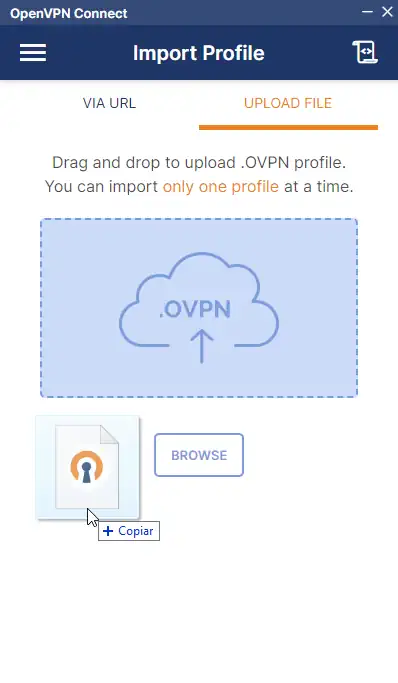
Once the file is downloaded, you can open it or drag it to OpenVPN Connect.
It will assign you a profile name and the server IP. Next, you must enter the VPN user name, click on the "Save password" box and enter the password for your VPN user.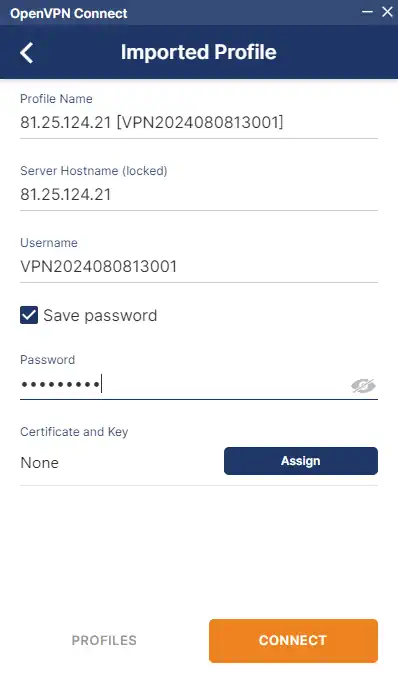
You will be prompted for the 2FA code to login. Once entered, click "Send".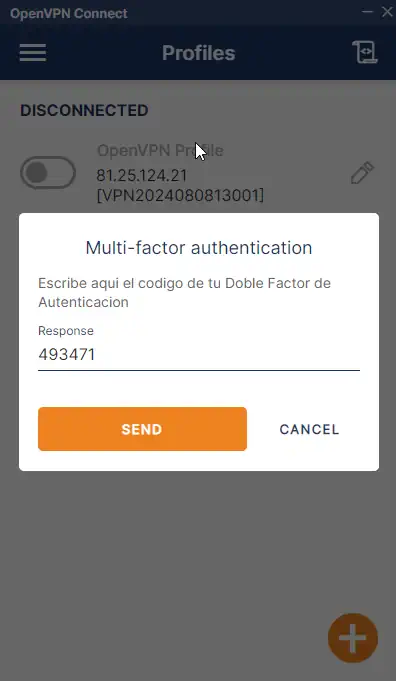
Next, a message will appear stating that an external certificate is missing, Missing external certificate. Click on the checkbox "Don't show again for this profile" and "Continue".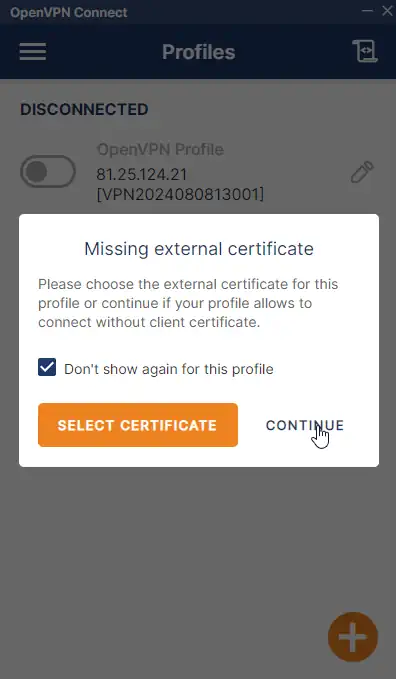
We will be asked again for the double authentication code. We must indicate it again, to click "Send".

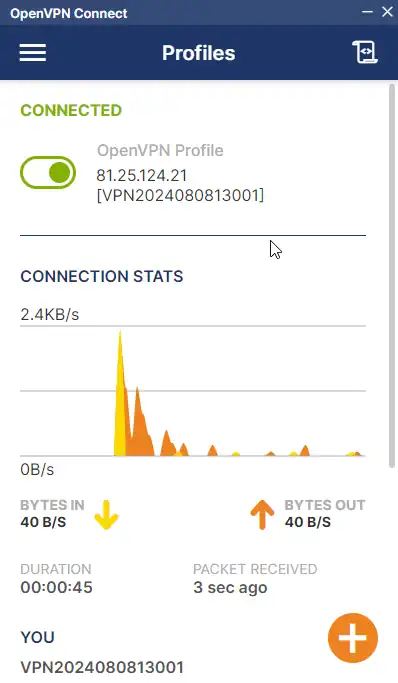
At this point, you will see your OpenVPN profile created, and a checkbox to connect to the VPN. Click on this checkbox.
To do so, we will be asked again for the two-factor authentication code. We will repeat the same step once more.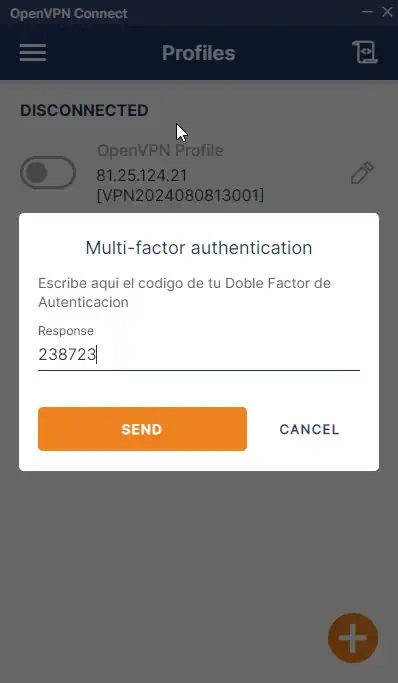
Once this last code is entered, we will be connected to our VPN.