Content
Categories
- General SWPanel (38)
- Administration (14)
- Database (14)
- SSL Certificates (15)
- Cloud (59)
- Cloud Storage (2)
- Containers (1)
- Backup Copies (6)
- Mail (33)
- DevOps (55)
- Domains (33)
- FTP (6)
- Hosting (32)
- Migrate Services (6)
- DNS Registers (13)
- Security (12)
- Services (7)
- Support (5)
- Users and privileges (2)
- Web (15)
- WordPress (23)
How to convert a SWEasyWeb to Wordpress
To convert an EasyWeb SW into a WordPress, you must follow these steps:
1. Log in to your customer account and in the top search bar of the SWPanel, search for the name of your EasyWeb SW and access it, by clicking on its name:

2. From the Dashboard of your SW EasyWeb, go to the left side menu in the section "Payments and Cancellations " and click on "Request cancellation "
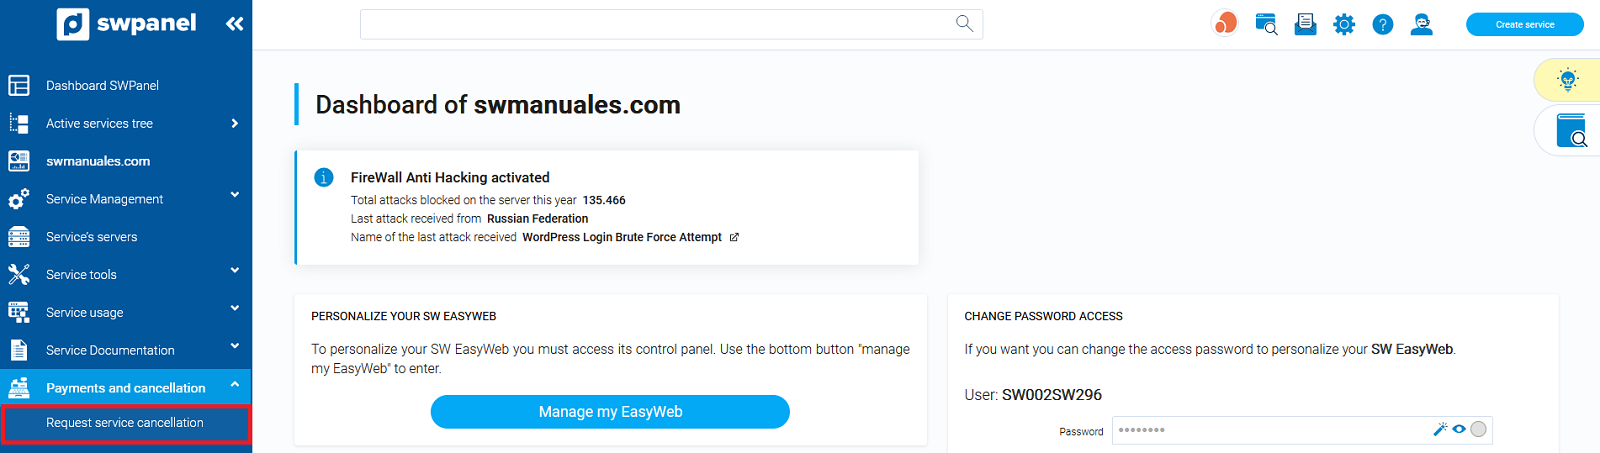
You must take into account that the cancellation of your EasyWeb SW will delete any type of configured content, as well as the associated email account and all its messages. If you wish to keep the email messages of the email account associated to your SW EasyWeb, you should make a copy of them through your email manager before requesting the cancellation.
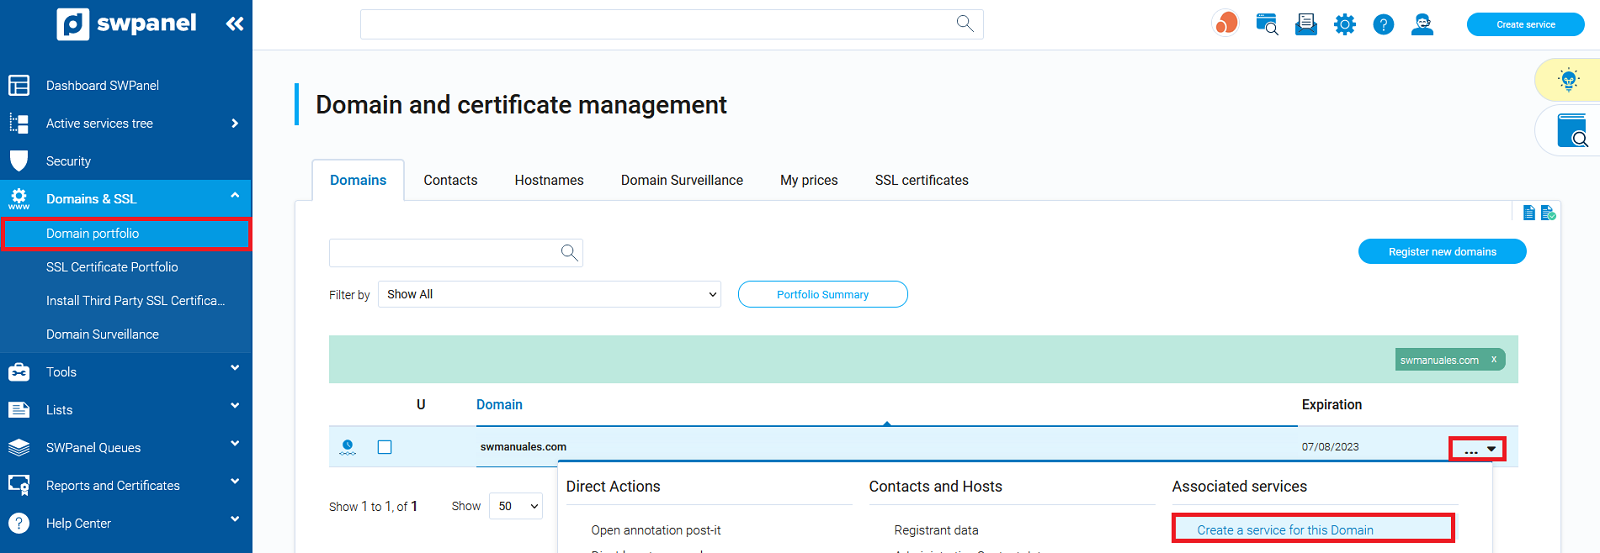
3. Once the cancellation and deletion of your EasyWeb SW has taken place, go to your "Domain Portfolio ", locate the domain you wish to create your new Hosting for and in the domain menu click on the option "Create a service for this domain "
4. In the next window, check the option "Hosting Plans " and in the Shared Hosting type, choose the Hosting modality you prefer, for example Smart Free v.2.
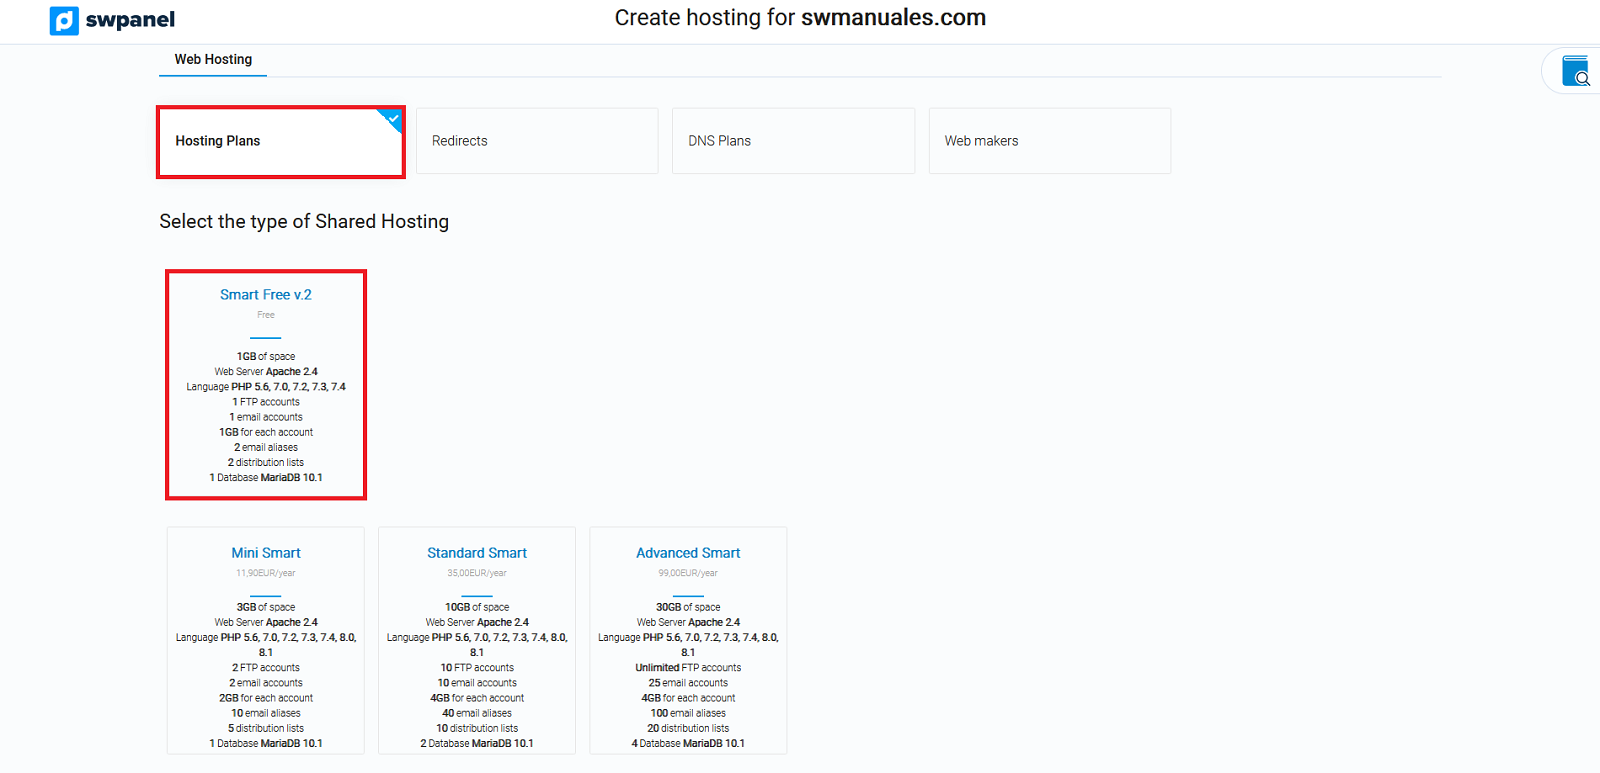
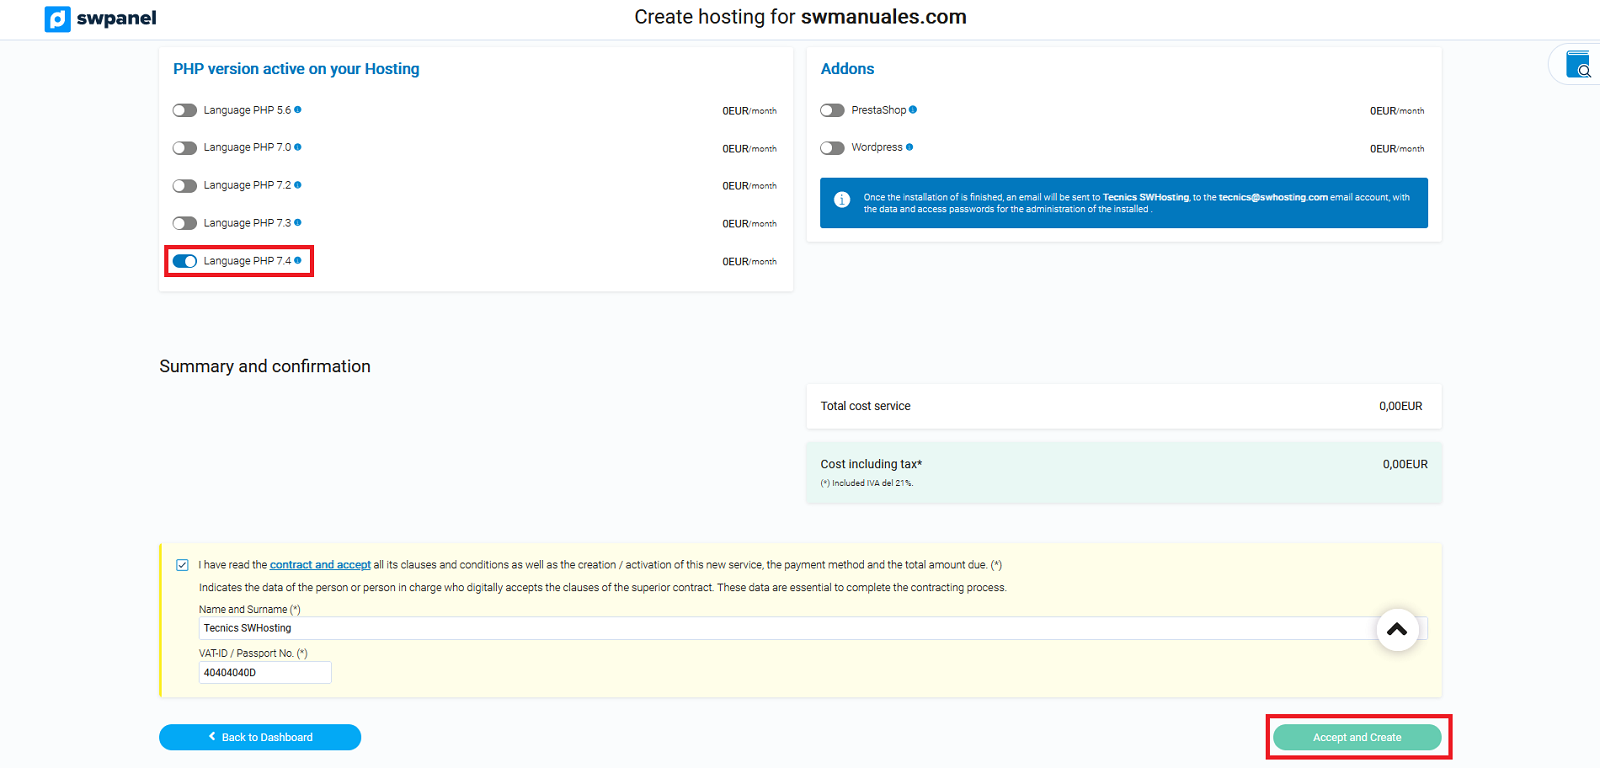
Select the PHP version you wish to activate for your Hosting and finish the creation process by clicking on the "Accept and create " button.
5. Once you have finished creating the new Hosting service, access the Dashboard of the same and click on install WordPress:
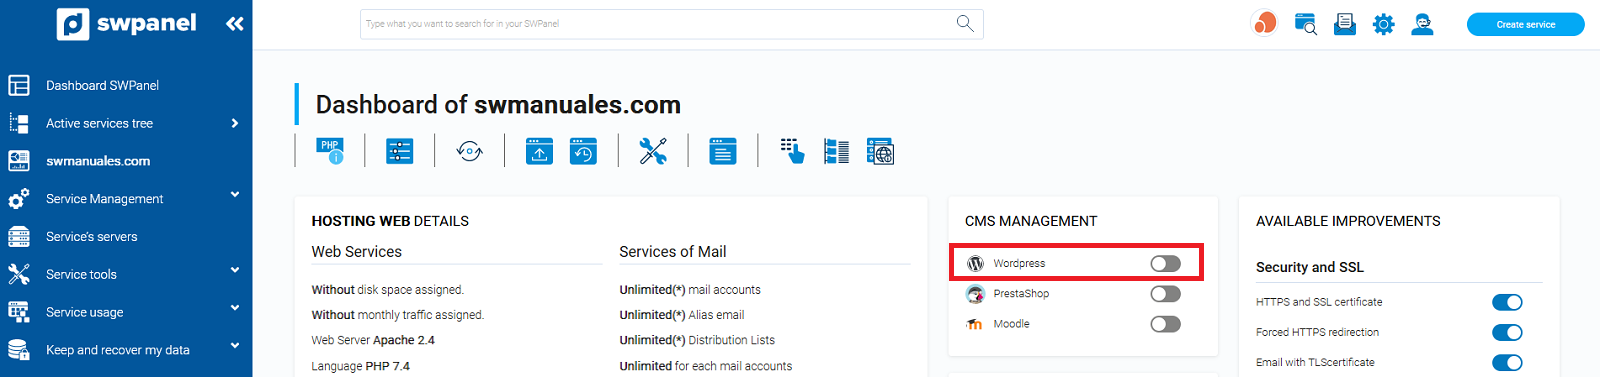
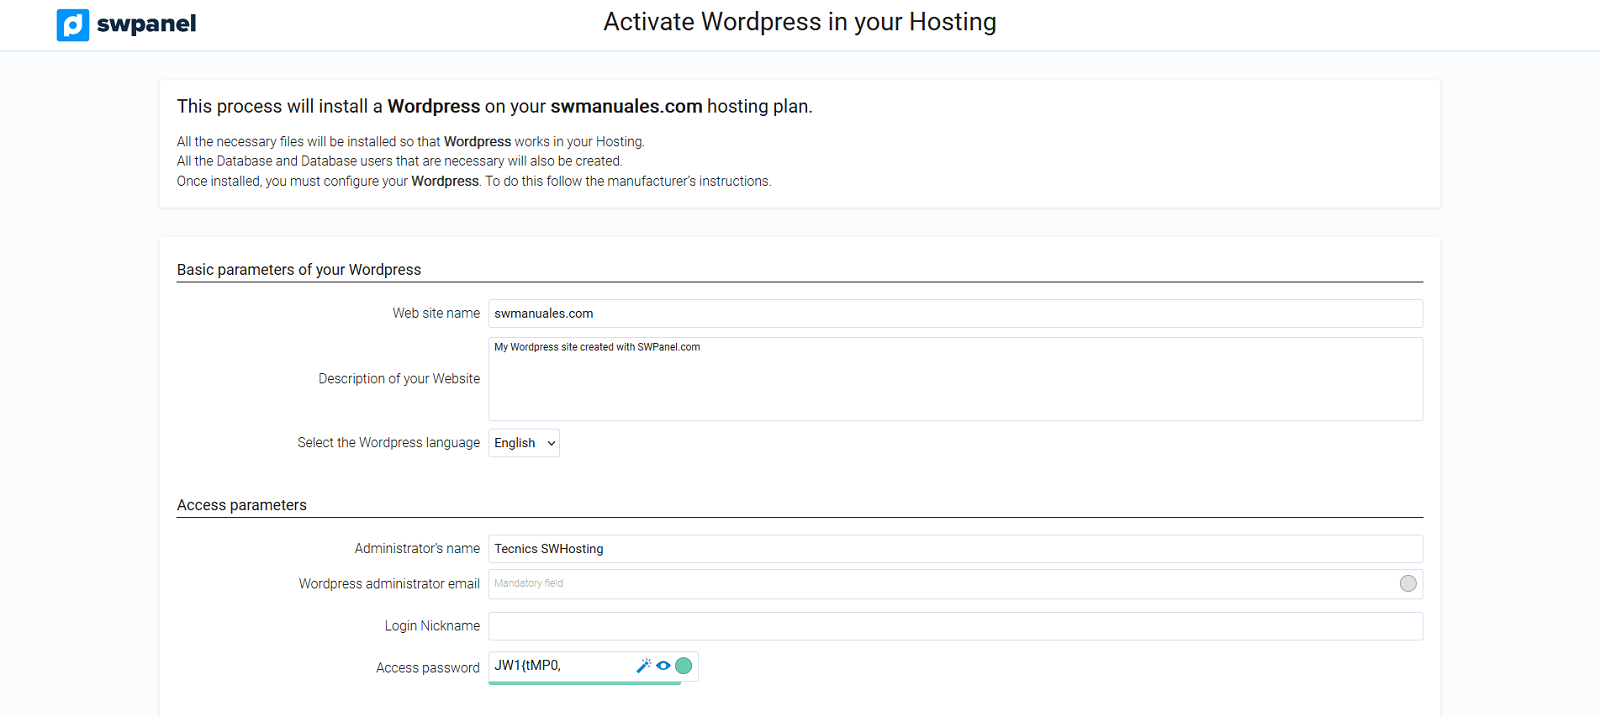
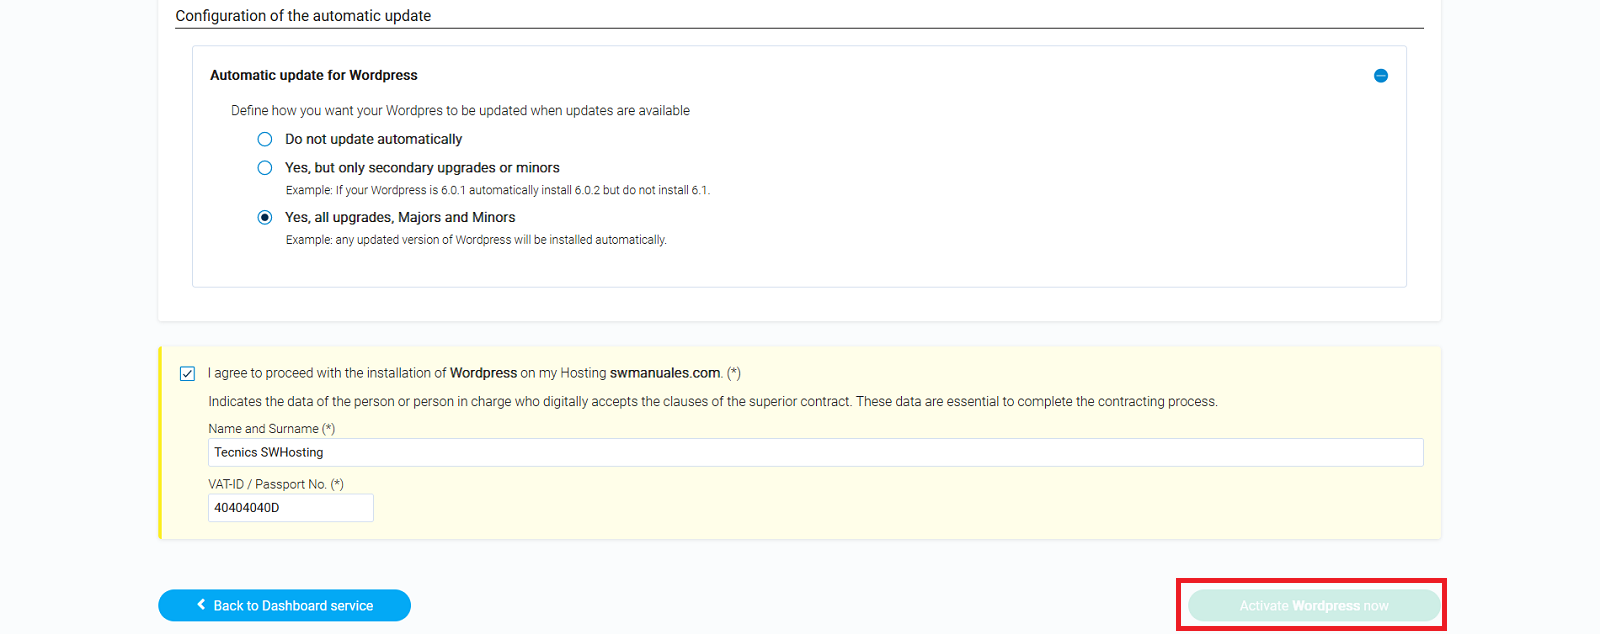
6. You will have to fill in the data with which WordPress will be displayed and finally click on the Activate WordPress Now button: