Content
Categories
- General SWPanel (38)
- Administration (14)
- Database (14)
- SSL Certificates (15)
- Cloud (59)
- Cloud Storage (2)
- Containers (1)
- Backup Copies (6)
- Mail (33)
- DevOps (55)
- Domains (33)
- FTP (6)
- Hosting (32)
- Migrate Services (6)
- DNS Registers (13)
- Security (12)
- Services (7)
- Support (5)
- Users and privileges (2)
- Web (15)
- WordPress (23)
How to create an access to the SWPanel using a new user
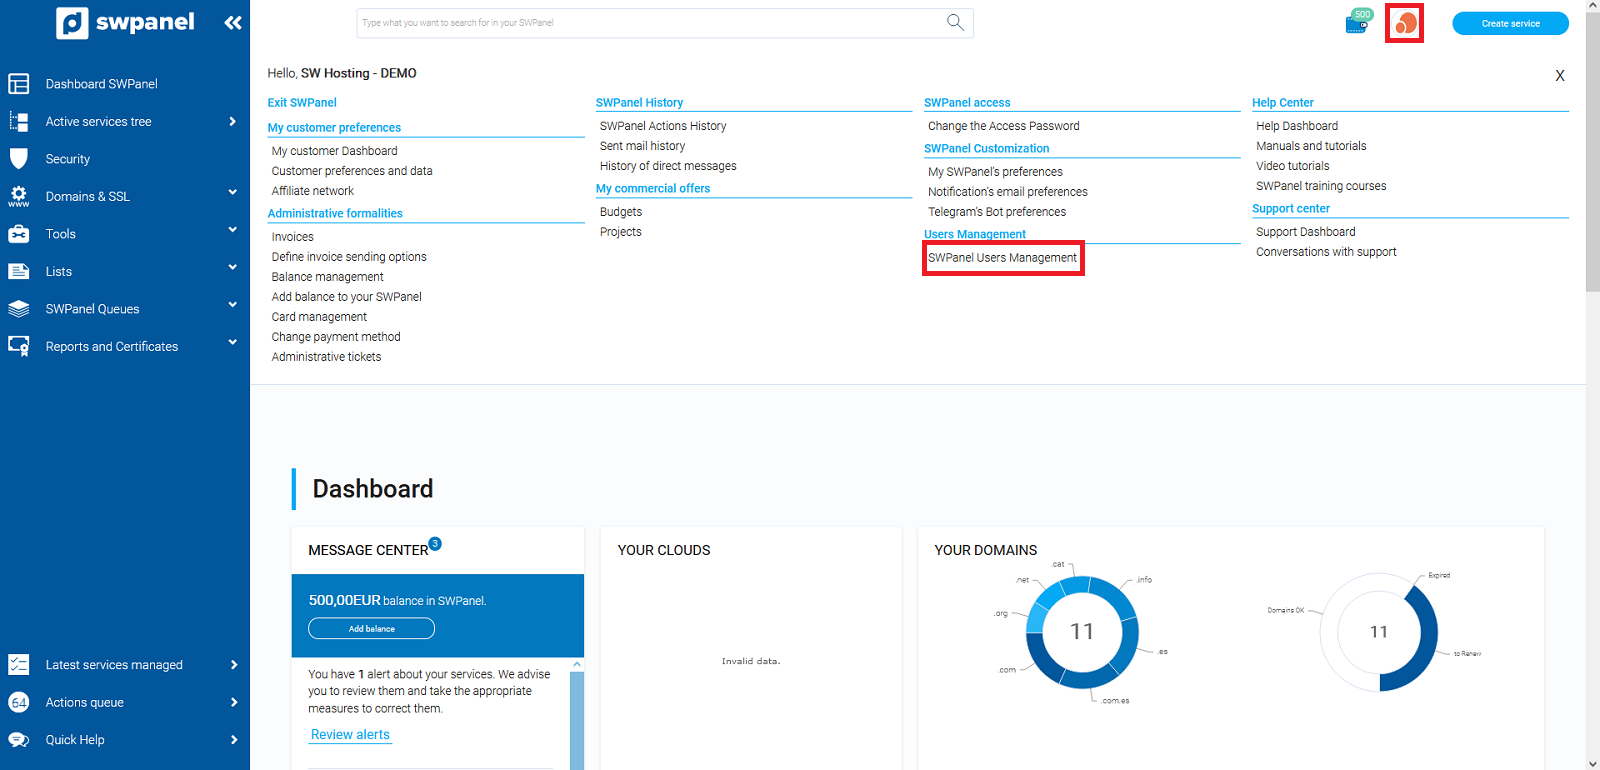
To create a SWPanel access using a new user, place on profile photo in the top-right of your SWPanel and click "SWPanel Users Management".
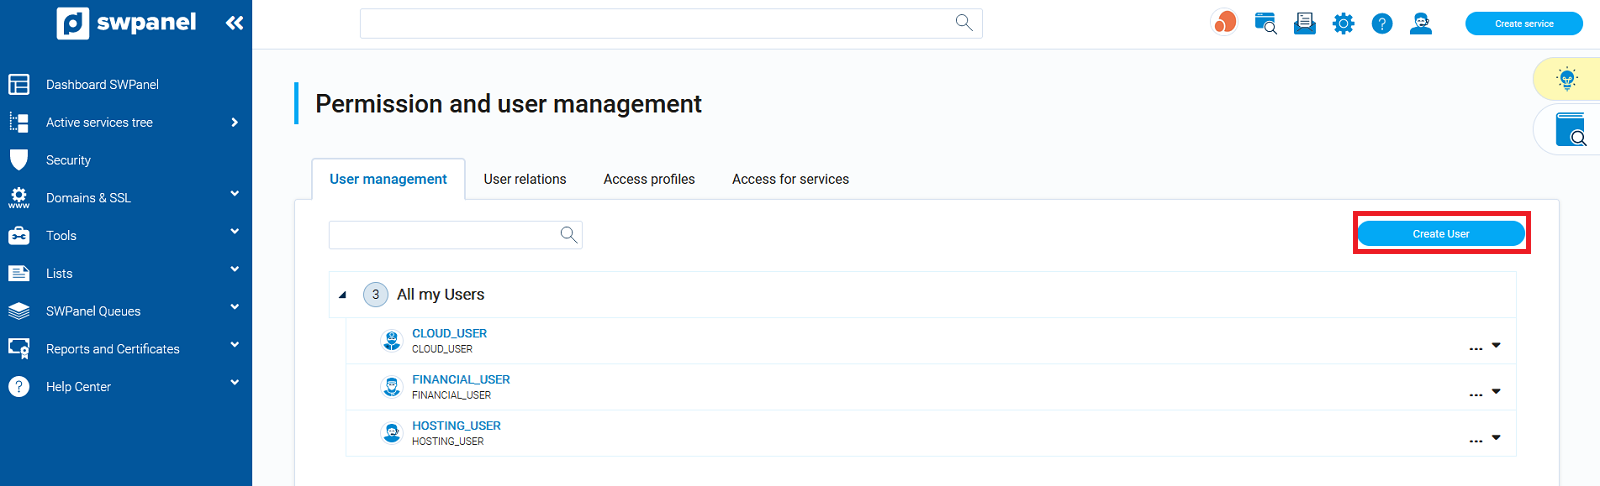
Go to the User Management section:
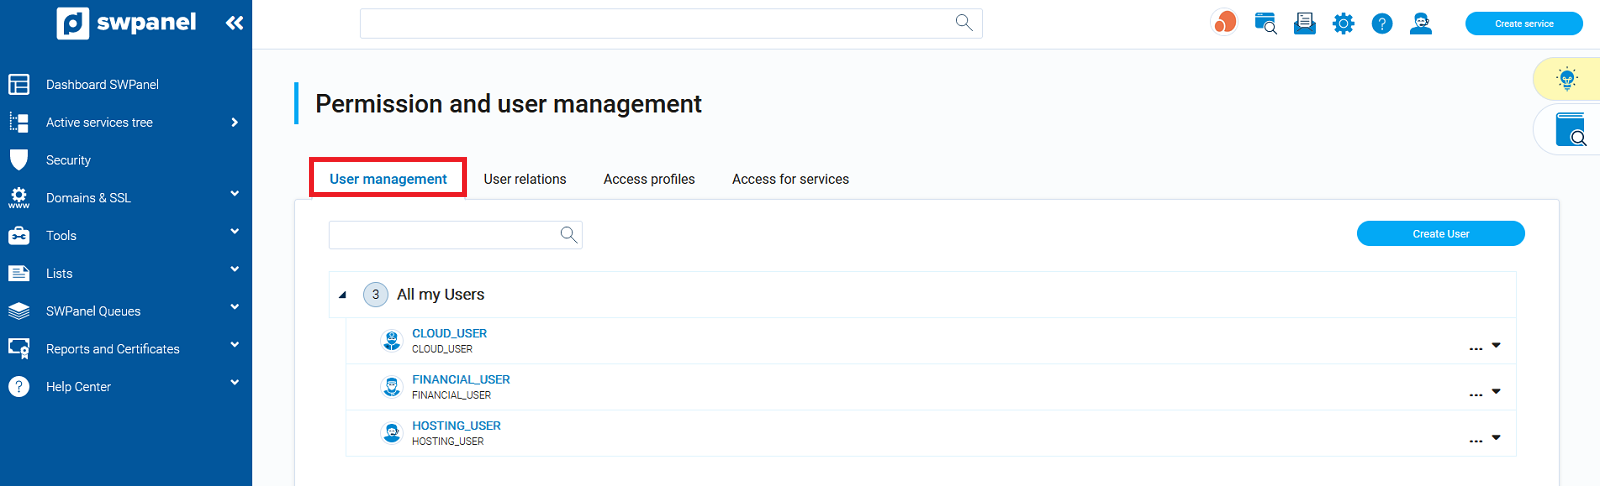
In this tab, click on the Create user button:
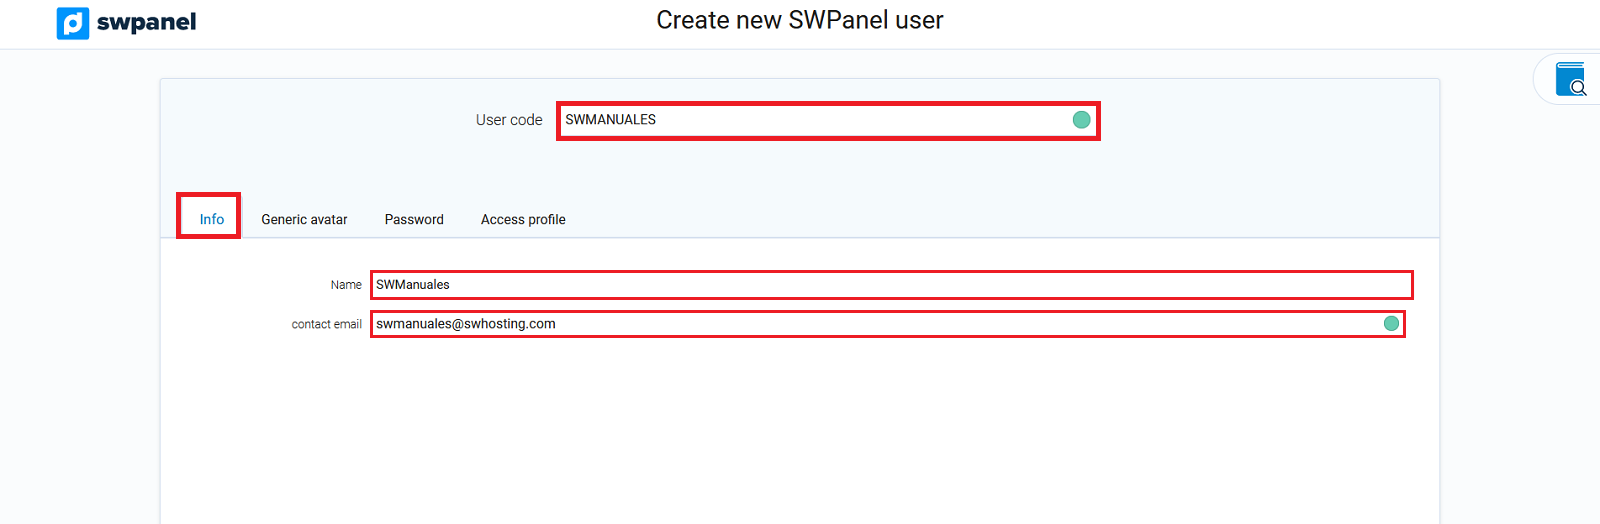
In user code enter the name that the user will have, for example: SWMANUALES.
In the following fields, within the Information section, fill in the name and contact email information, in which all notifications from this user will be received.
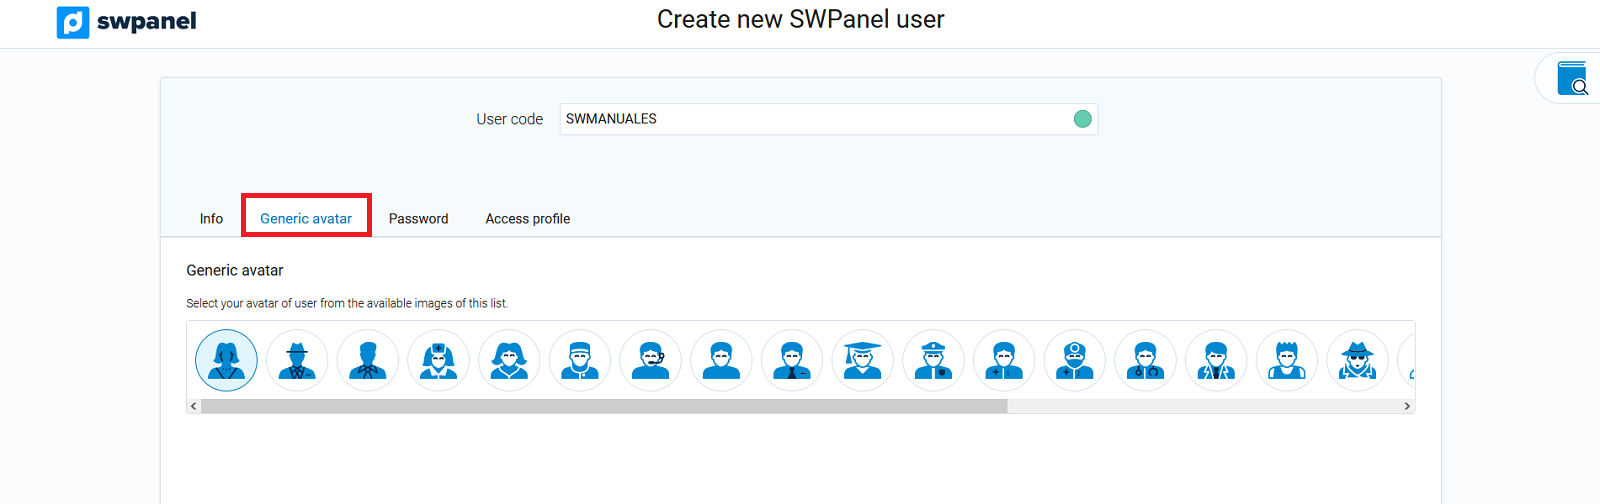
In the section Generic avatar, you have the possibility to choose the avatar you want for your user. You can also use a custom avatar.
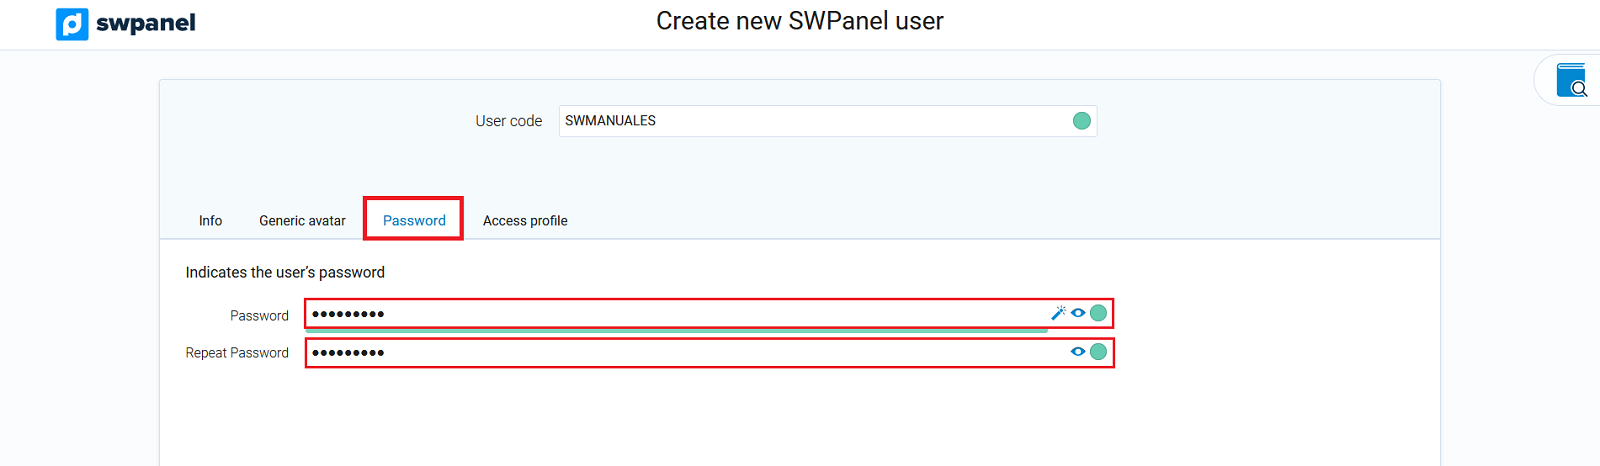
In the next tab, choose the password of your user, with which you will access the SWPanel.
Finally, in Access profile, you must choose the access profile of your user.
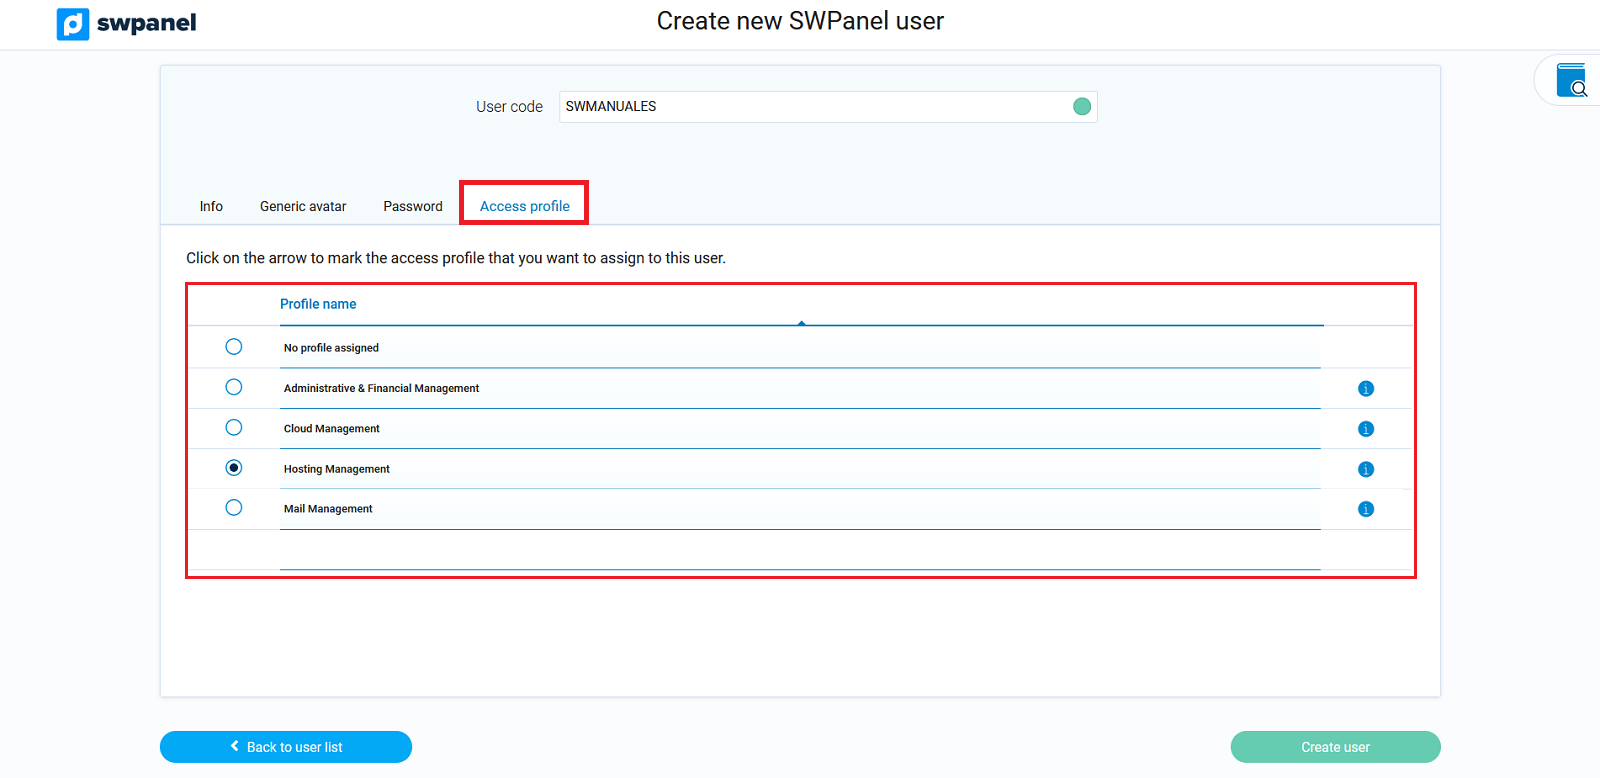
Access profiles
There are different access profiles:
- Administrative & Financial Management: with this access profile you will be able to view and manage your invoices, manage the balance, manage credit cards and open administrative tickets, among others.
- Cloud Management: with this access profile you will be able to see and manage the actions on the cloud servers. Hosting services cannot be created through this profile.
- Hosting Management: with this profile you can manage all the elements of a hosting service, but without having access to the Cloud.
- Mail Management: ith this profile you can create an access to the SWPanel to manage an email account.
You can see all the actions that the different profiles can perform by clicking on the "i", icon, located to the right of each one of them.
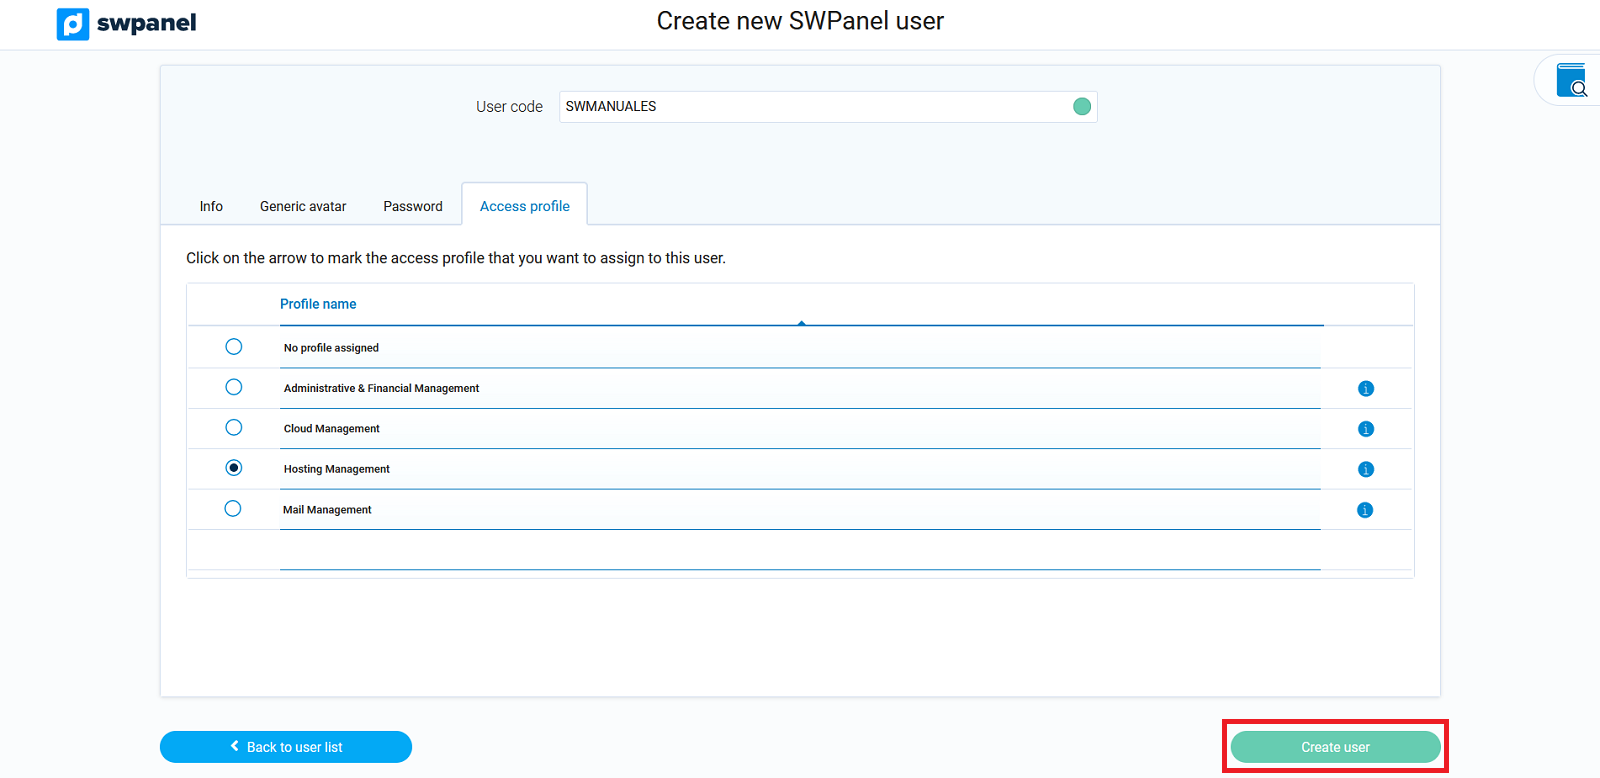
Once the hosting profile has been chosen, proceed with the user creation.
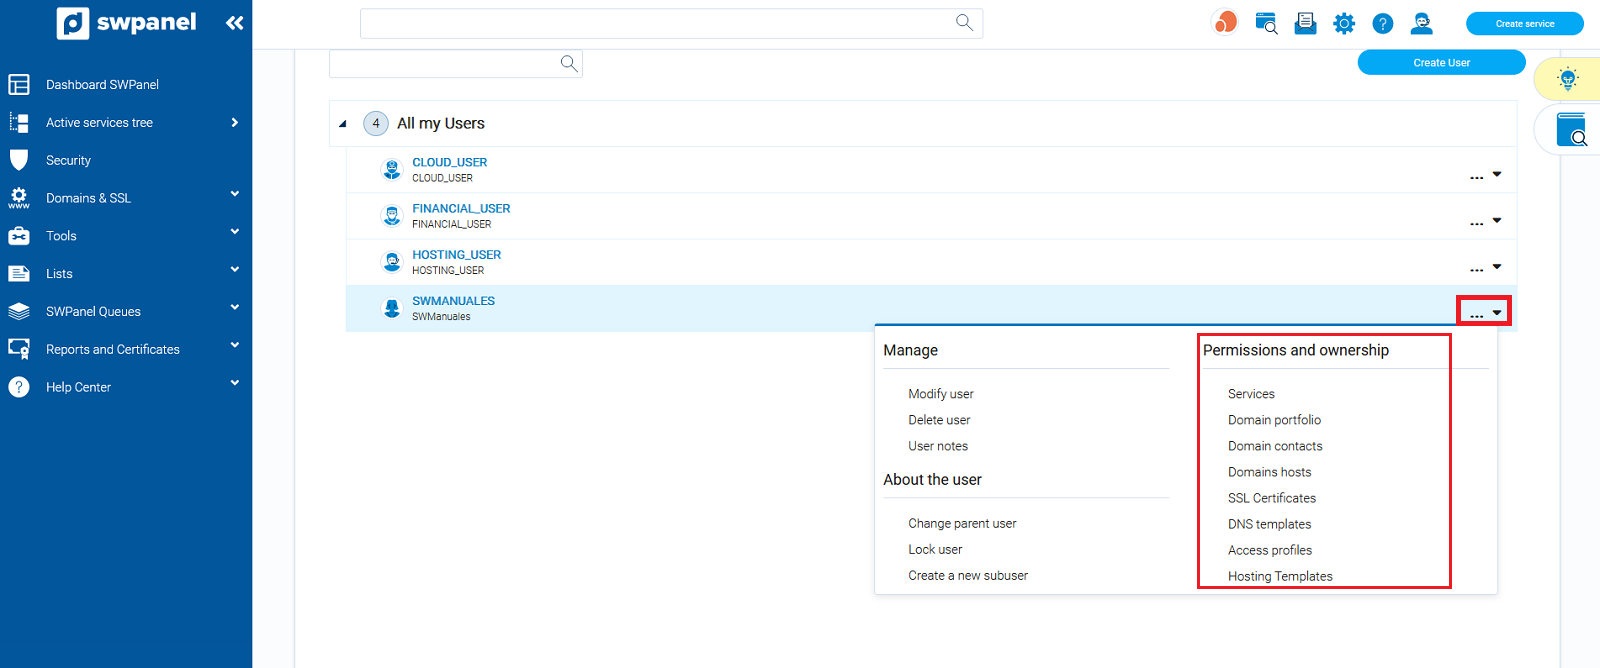
After creating the user, go to the drop-down on the right -> permissions and ownership -> services:
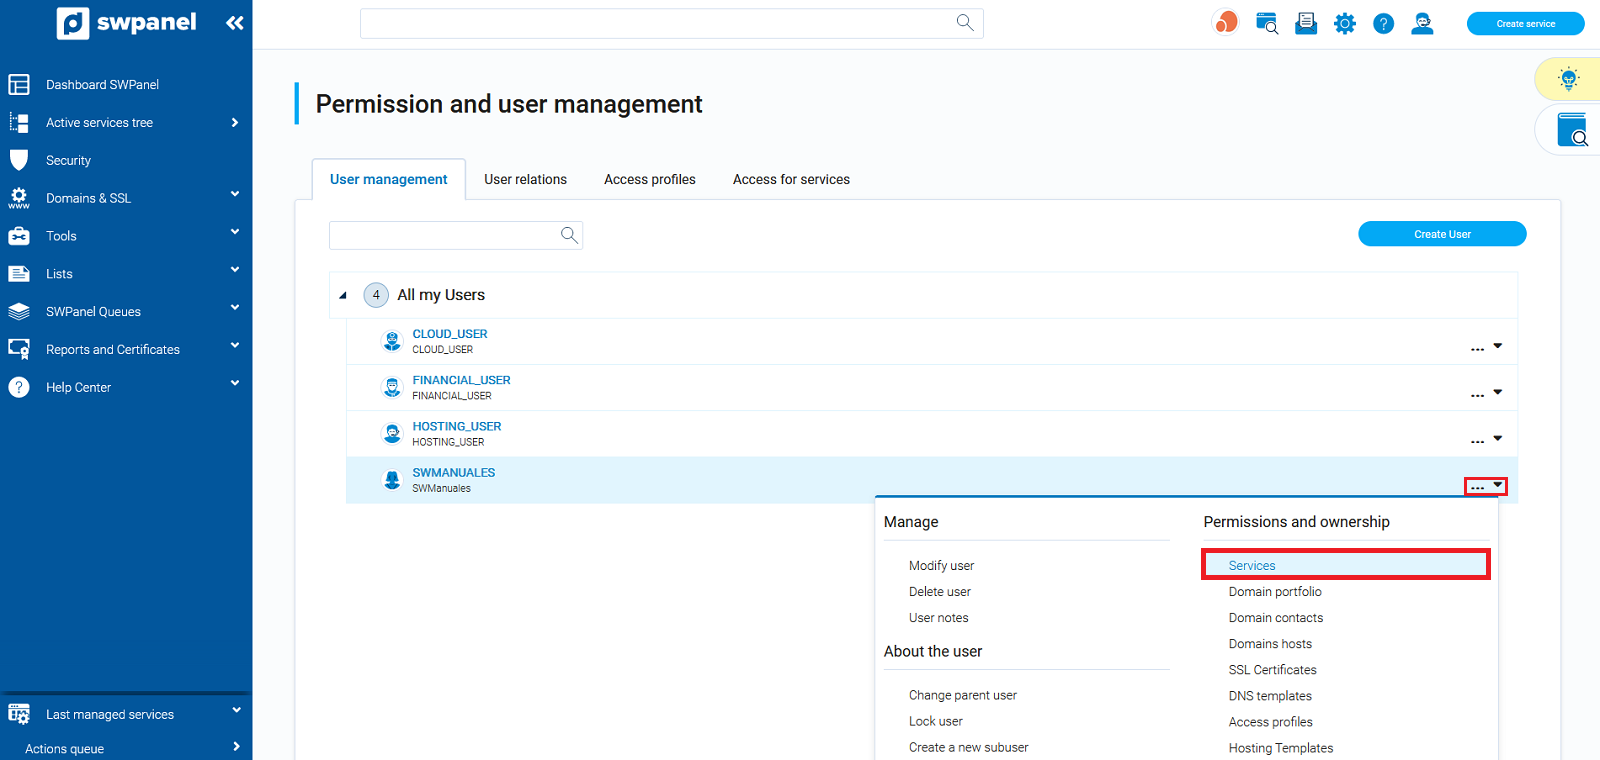
Select the service in which you want your user to have permissions:
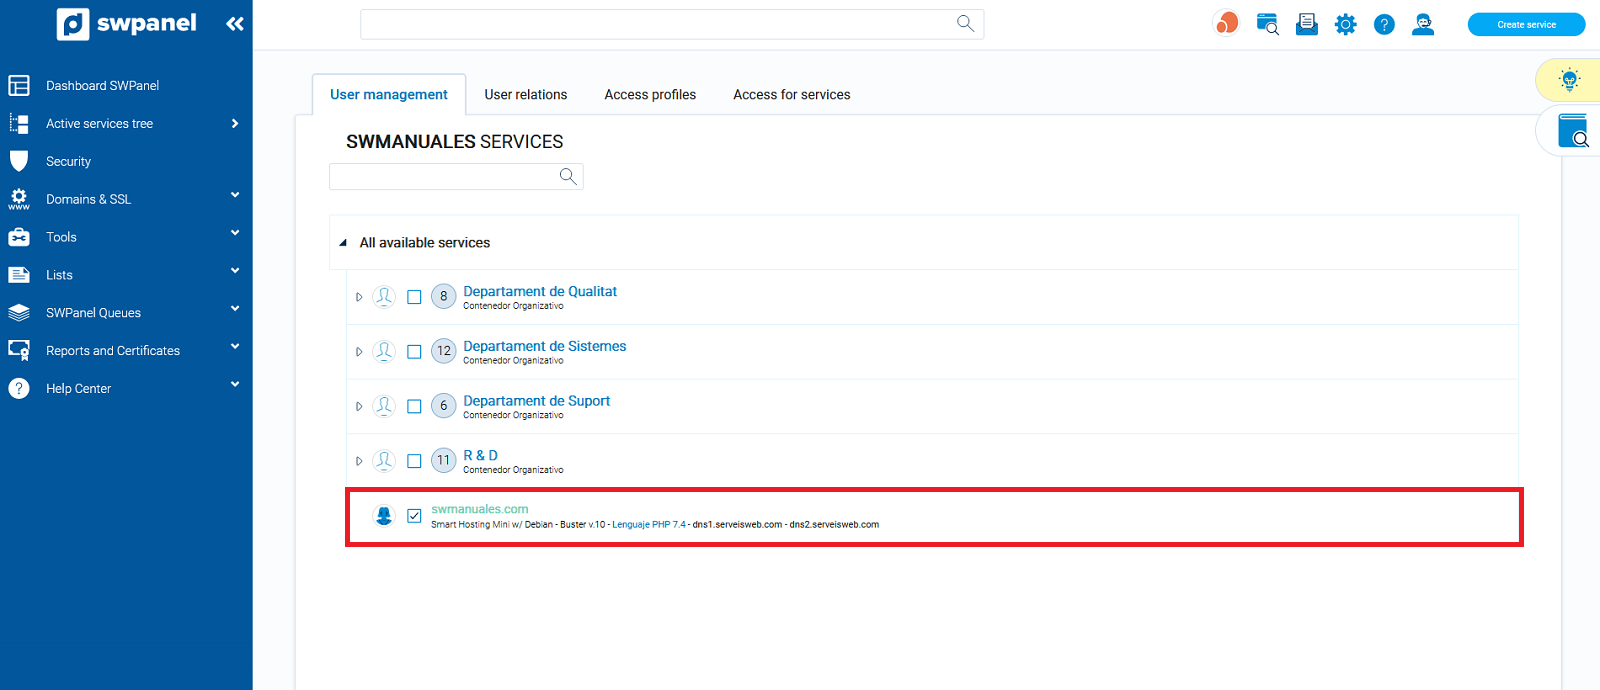
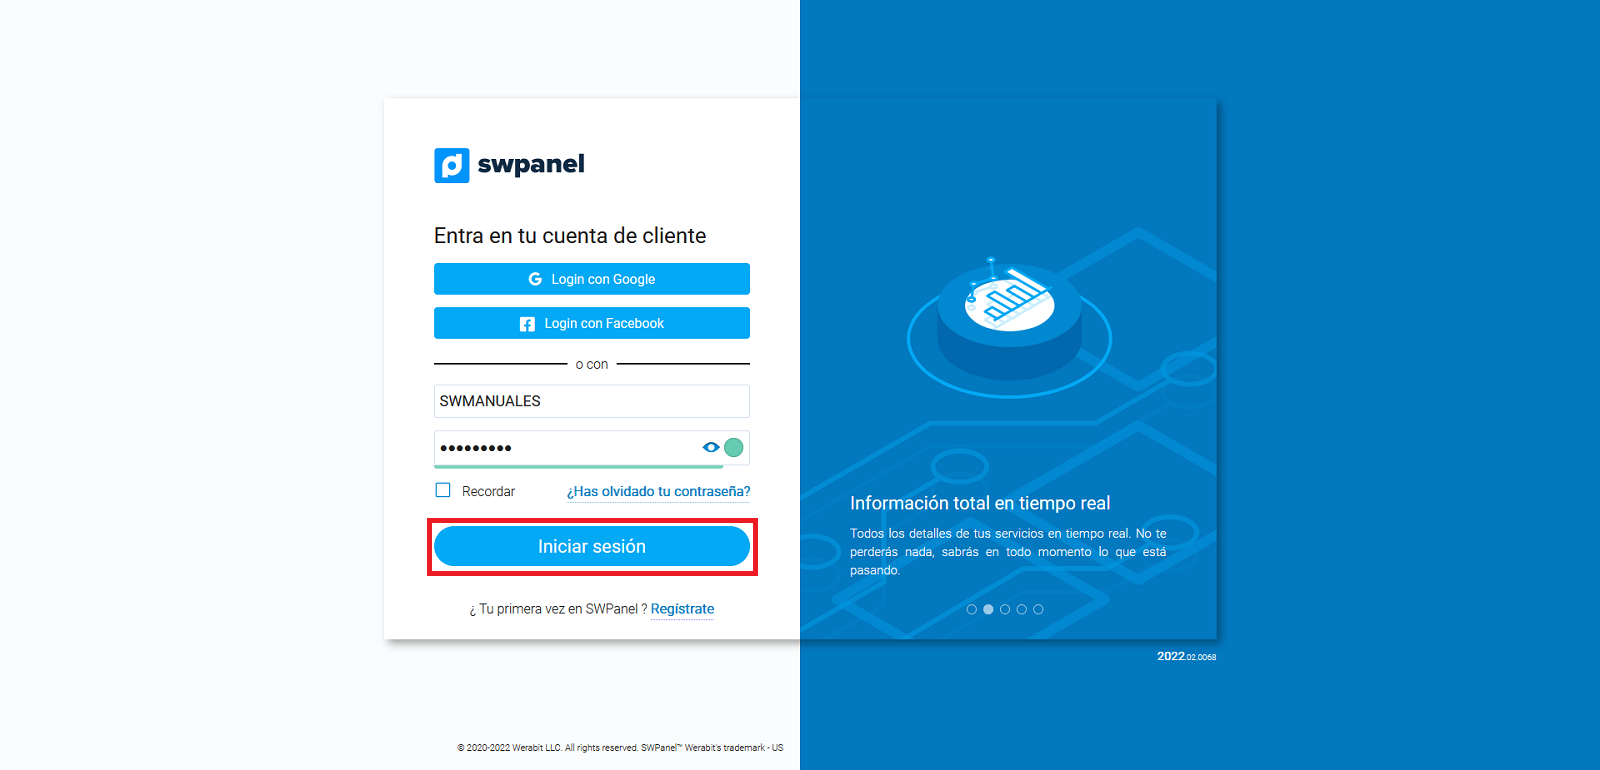
Finally, proceed to access the SWPanel with the user you just created: