Content
Categories
- General SWPanel (38)
- Administration (14)
- Database (14)
- SSL Certificates (15)
- Cloud (59)
- Cloud Storage (2)
- Containers (1)
- Backup Copies (6)
- Mail (33)
- DevOps (55)
- Domains (33)
- FTP (6)
- Hosting (32)
- Migrate Services (6)
- DNS Registers (13)
- Security (12)
- Services (7)
- Support (5)
- Users and privileges (2)
- Web (15)
- WordPress (23)
How to install CyberPanel with OpenLiteSpeed ​​on Ubuntu 22.04
Introduction
CyberPanel is a next generation hosting control panel for the high performance OpenLiteSpeed web server with a user friendly interface. The CyberPanel installation script also allows you to install in one click OpenLiteSpeed, and all the necessary software to manage the Web hosting, DB and mail services,... of your domains.
Before starting with the tutorial, don't you have a Linux Ubuntu 22.04 Cloud server on which you can install your CyberPanel with OpenLiteSpeed? Don't worry! With just one click, you can easily deploy it with SWHosting.
cta:cloud_so_ubuntu_22
Step 1: Update the system
Before installing any new software on Ubuntu, remember to always update the system to have the latest versions of software packages. To do this, open a terminal and run the following commands:
sudo apt-get update
sudo apt-get upgrade -y
Step 2: Install CyberPanel with OpenLiteSpeed
To install CyberPanel, you must download and run the CyberPanel installation script by executing this command:
sudo sh <(curl https://cyberpanel.net/install.sh || wget -O - https://cyberpanel.net/install.sh)
You should receive a similar result, where you will need to enter the number 1 to start the CyberPanel installation:
...

Checking server location...

Desktop OS not detected. Proceeding

System: Ubuntu 22 detected...

Checking virtualization type...

Initialized...

	CyberPanel Installer v2.3.5

1. Install CyberPanel.

2. Exit.


  Please enter the number[1-2]: 1
In the next question, you will also need to choose the first option to install CyberPanel with OpenLiteSpeed:
...

1. Install CyberPanel with OpenLiteSpeed.

2. Install Cyberpanel with LiteSpeed Enterprise.

3. Exit.


  Please enter the number[1-3]: 1
For this step, you must also include PowerDNS, Postfix and Pure-FTPd with the installation by entering "Y".
Install Full service for CyberPanel? This will include PowerDNS, Postfix and Pure-FTPd.

Full installation [Y/n]: Y
If you want to use a remote MySQL server (a server that is not the same as the one on which you are installing CyberPanel), you can select y; otherwise, you must also install MySQL by entering the “N” option:
Do you want to setup Remote MySQL? (This will skip installation of local MySQL)

(Default = No) Remote MySQL [y/N]: N
Then simply press [Enter] to install the latest version of CyberPanel:
Press Enter key to continue with latest version or Enter specific version such as: 1.9.4 , 2.0.1 , 2.0.2 ...etc

Branch name set to v2.3.5
Here you can also choose any option, but it is recommended to generate a random password or set your own password. In this tutorial, we select the r option for a random password.
Please choose to use default admin password 1234567, randomly generate one (recommended) or specify the admin password?
Choose [d]fault, [r]andom or [s]et password: [d/r/s] r
You can then choose to install Memcached and its PHP extension by indicating the option Y
Do you wish to install Memcached process and its PHP extension?
Please select [Y/n]: Y
You can also choose to install Redis and its PHP extension by indicating the option Y
Do you wish to install Redis process and its PHP extension?
Please select [Y/n]: Y
In the next step, it is recommended to run the monitoring script to detect problems in the tables and data, indicating the option Y
The watchdog script will be automatically started up after installation and server reboot
If you want to kill the watchdog , run watchdog kill
Please type Yes or no (with capital Y, default Yes):
Y
After this step, the installation will continue and if you have selected the random option (r) for the password, the randomly generated administrator password will be displayed. Finish the installation by checking the y option to restart the server.
###################################################################
                CyberPanel Successfully Installed

                Current Disk usage : 9/18GB (57%)

                Current RAM  usage : 479/3890MB (12.31%)

                Installation time  : 0 hrs 45 min 0 sec

                Visit: https://81.25.126.188:8090
                Panel username: admin
                Panel password: ***

             Run cyberpanel help to get FAQ info
             Run cyberpanel upgrade to upgrade it to latest version.
             Run cyberpanel utility to access some handy tools .

              Website : https://www.cyberpanel.net
              Forums  : https://forums.cyberpanel.net
              Wikipage: https://docs.cyberpanel.net
              Docs    : https://cyberpanel.net/docs/

            Enjoy your accelerated Internet by
                CyberPanel & OpenLiteSpeed
###################################################################
If your provider has a network-level firewall
Please make sure you have opened following port for both in/out:
TCP: 8090 for CyberPanel
TCP: 80, TCP: 443 and UDP: 443 for webserver
TCP: 21 and TCP: 40110-40210 for FTP
TCP: 25, TCP: 587, TCP: 465, TCP: 110, TCP: 143 and TCP: 993 for mail service
TCP: 53 and UDP: 53 for DNS service
Would you like to restart your server now? [y/N]: y
Step 3: Access CyberPanel Control Panel
You can now access the CyberPanel installation at http://YourServerIpAdress:8090 o https://YourNameServer:8090
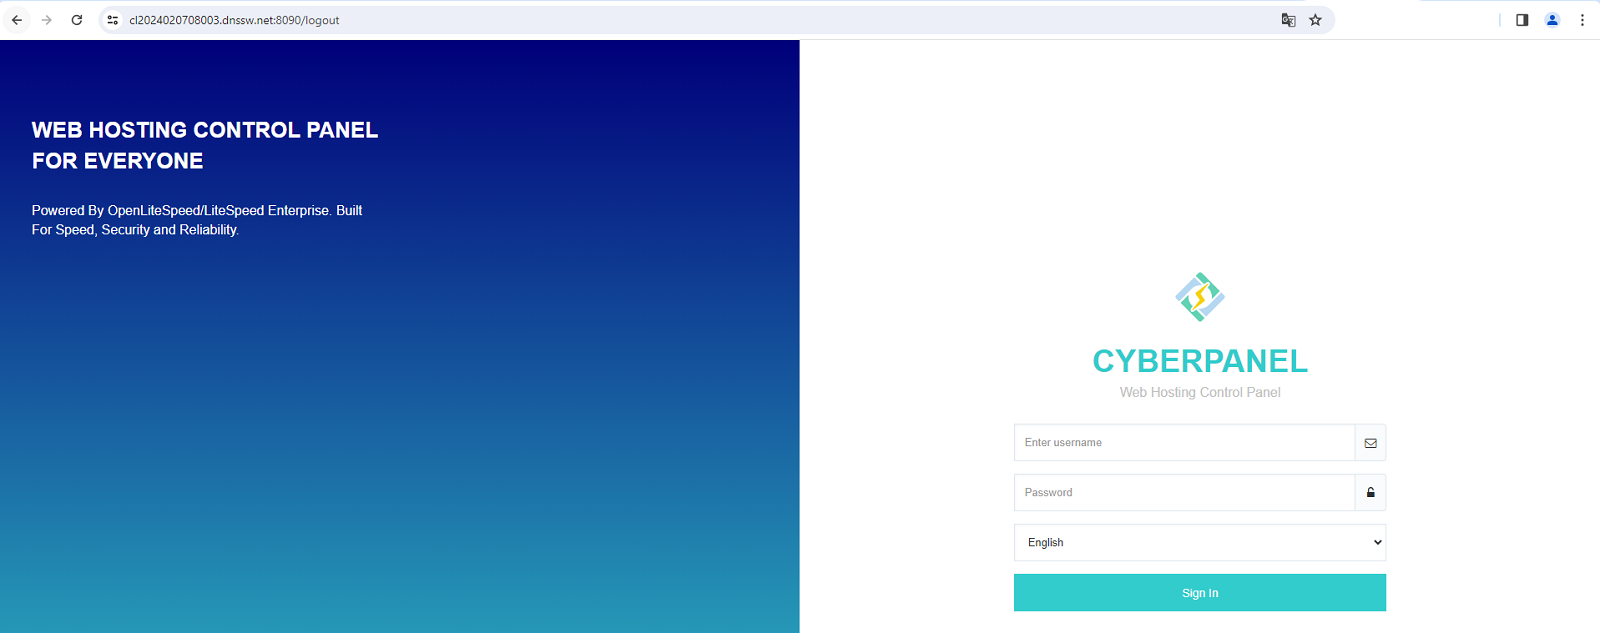
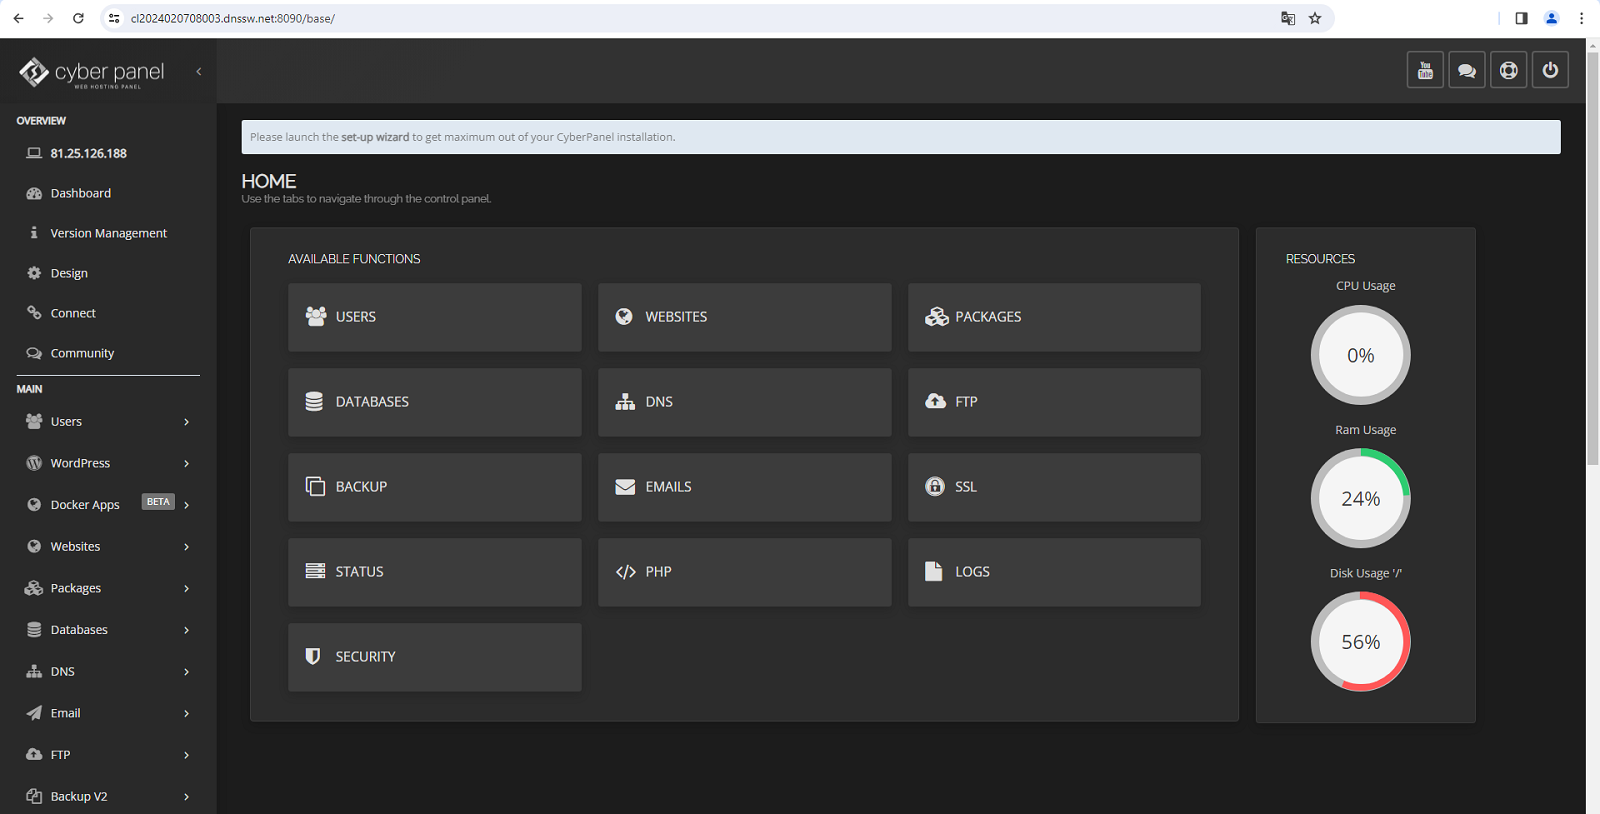
success Congratulations! You have successfully installed CyberPanel with OpenLiteSpeed on Ubuntu 22.04.
Remember that if you don't have a Cloud server with Linux Ubuntu 22.04 operating system, you can easily deploy it with SWHosting.
cta:cloud_so_ubuntu_22