Content
Categories
- General SWPanel (38)
- Administration (14)
- Database (14)
- SSL Certificates (15)
- Cloud (59)
- Cloud Storage (2)
- Containers (1)
- Backup Copies (6)
- Mail (33)
- DevOps (55)
- Domains (33)
- FTP (6)
- Hosting (32)
- Migrate Services (6)
- DNS Registers (13)
- Security (12)
- Services (7)
- Support (5)
- Users and privileges (2)
- Web (15)
- WordPress (23)
How to migrate your WordPress with the Duplicator plugin
Introduction
The Duplicator plugin allows you to export your current WordPress website to a backup created in a single compressed .zip file, which contains all the files present in the directory where your website is stored (folders, images, etc.) as well as a copy of the database. The content of this .zip file will allow you to migrate your WordPress website hosted on a local or public server to another website exactly the same and hosted on another server.
In addition the Duplicator plugin is a solution that allows you to create regular backups of your website.
In this tutorial we will explain how to migrate a website created with WordPress for the same domain between two different hosting services.
Before we start with the tutorial, don't you have a hosting service for your WordPress? Don't worry! With just one click, you can easily deploy it with SW Hosting.
cta:hosting_wordpress
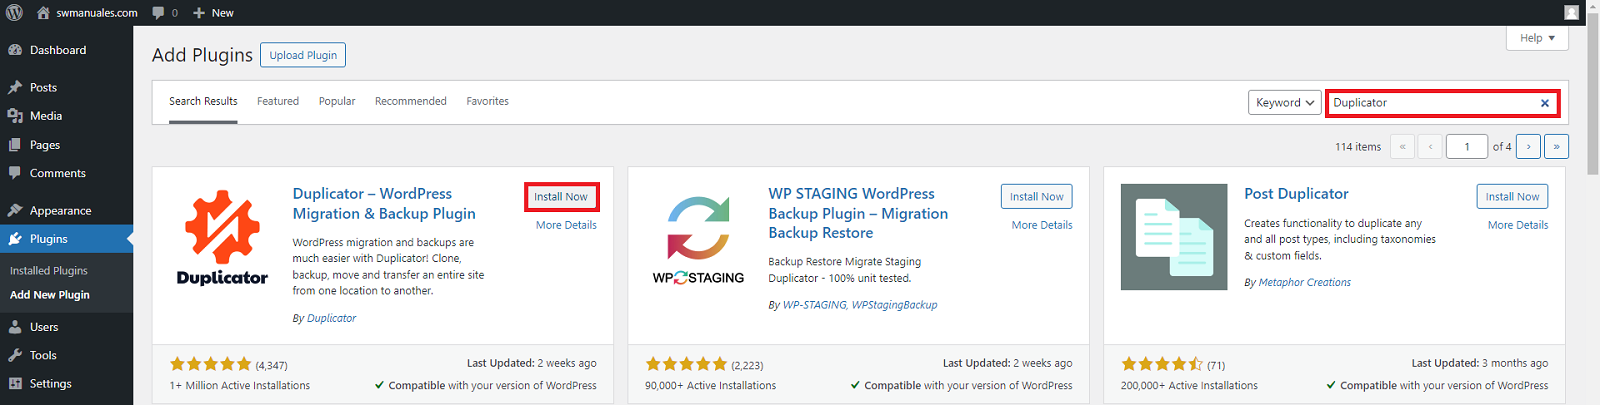
Step 1: Install the Duplicator Plugin
To begin your site migration, you will need to install and activate the Duplicator plugin in your WordPress dashboard. Go to Plugins → "Add new plugin", find the plugin and click "Install now":

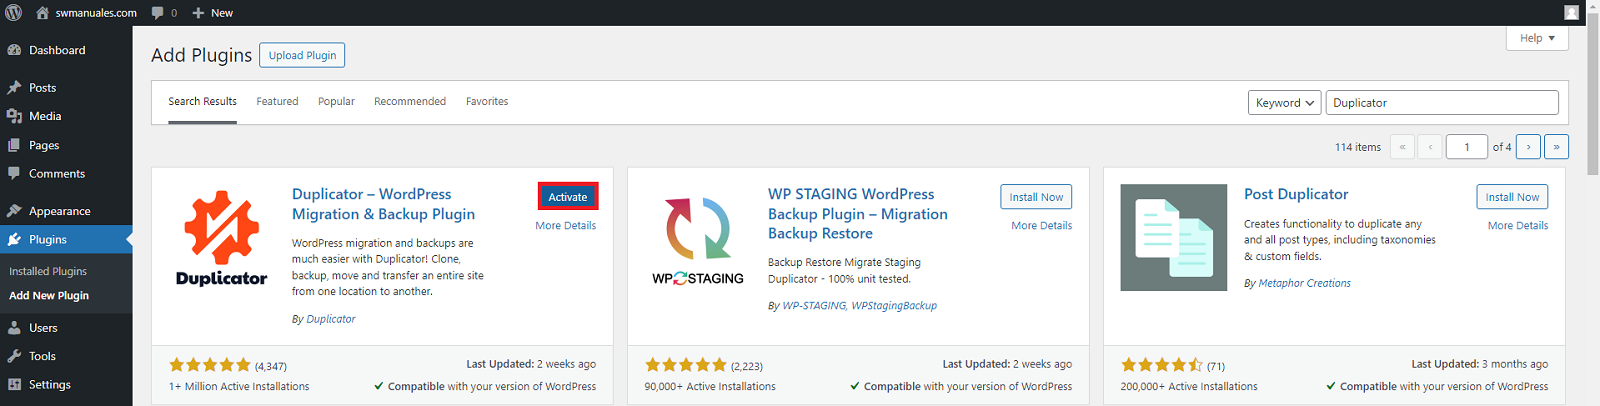
After a few seconds, you will be able to select "Activate".
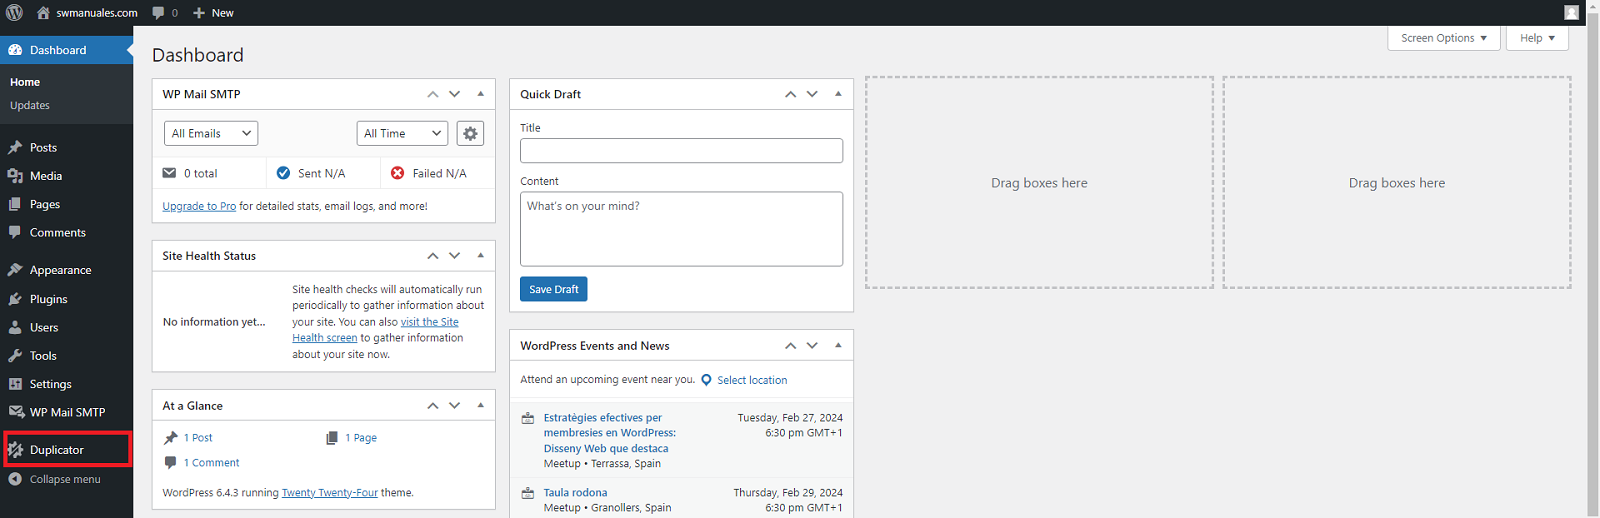
If the installation was successful, a link to the Duplicator plugin will appear in the sidebar of your WordPress dashboard.
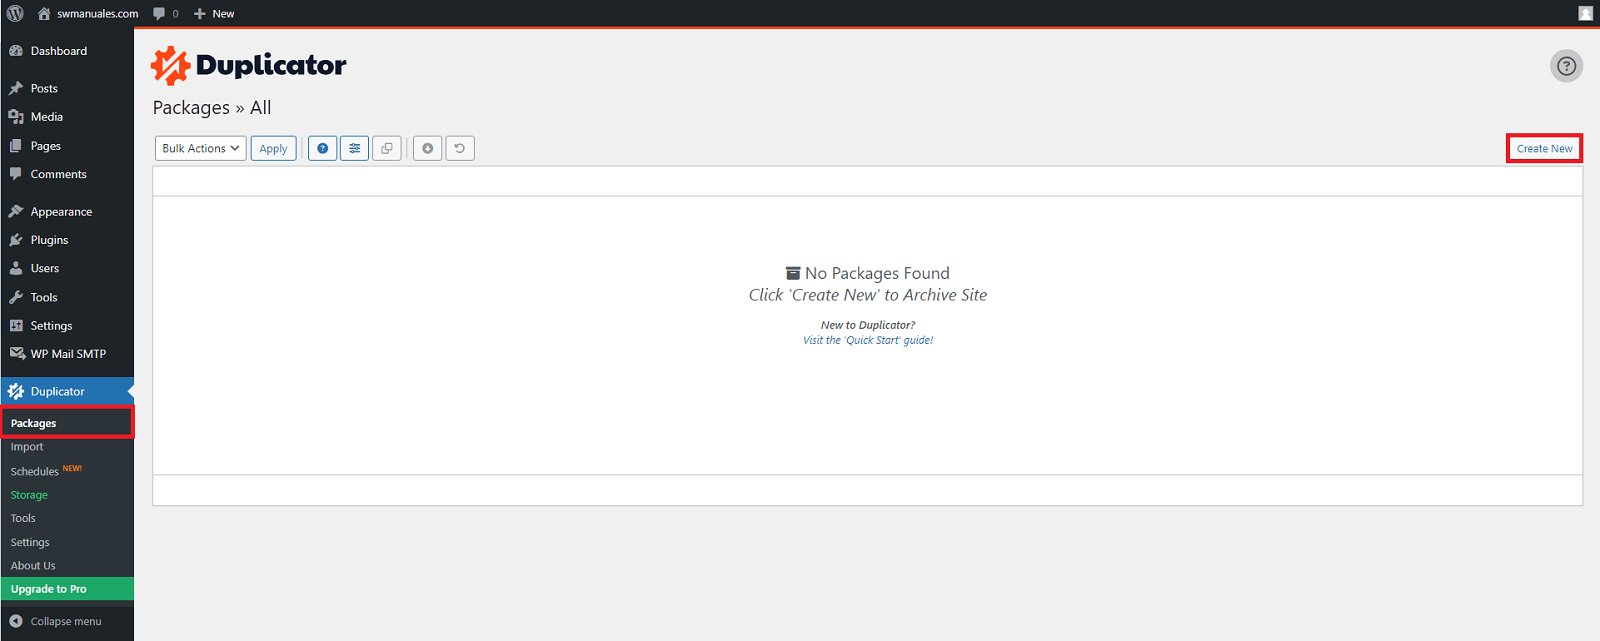
Step 2: Export your website with Duplicator
To start the export, go to Duplicator in your WordPress dashboard and click on "Packages" and then on "Create new" button
The configurable options for the creation of the package are the following:
- Name. By default the name of the compressed file has the following structure: yearday_yourwebname. You can change this name to any other name you prefer.
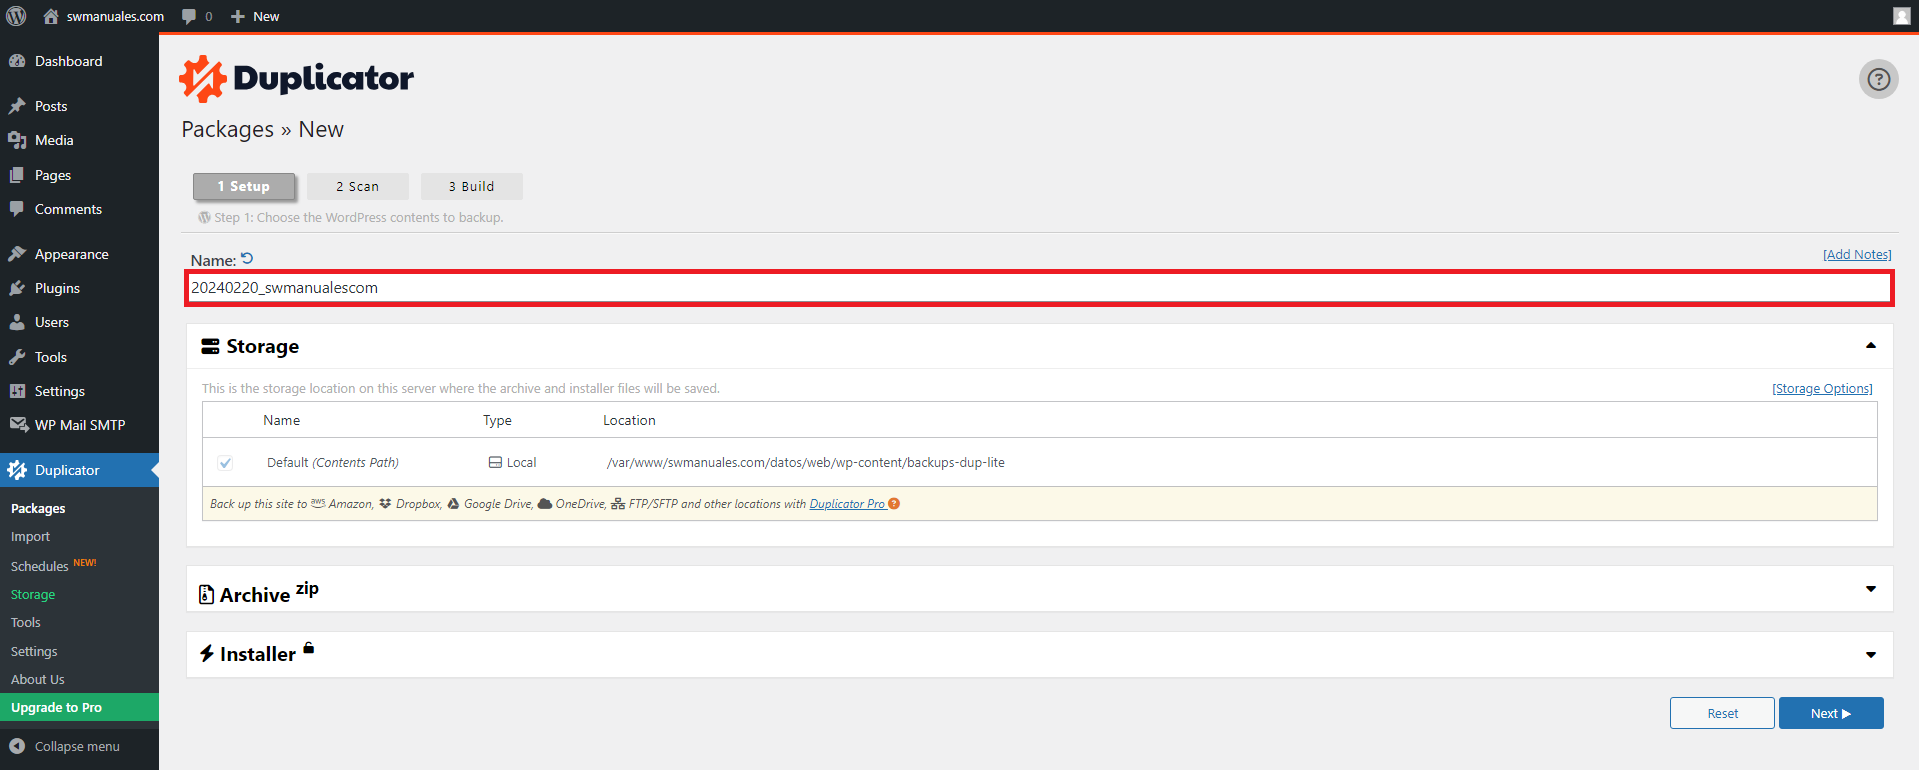
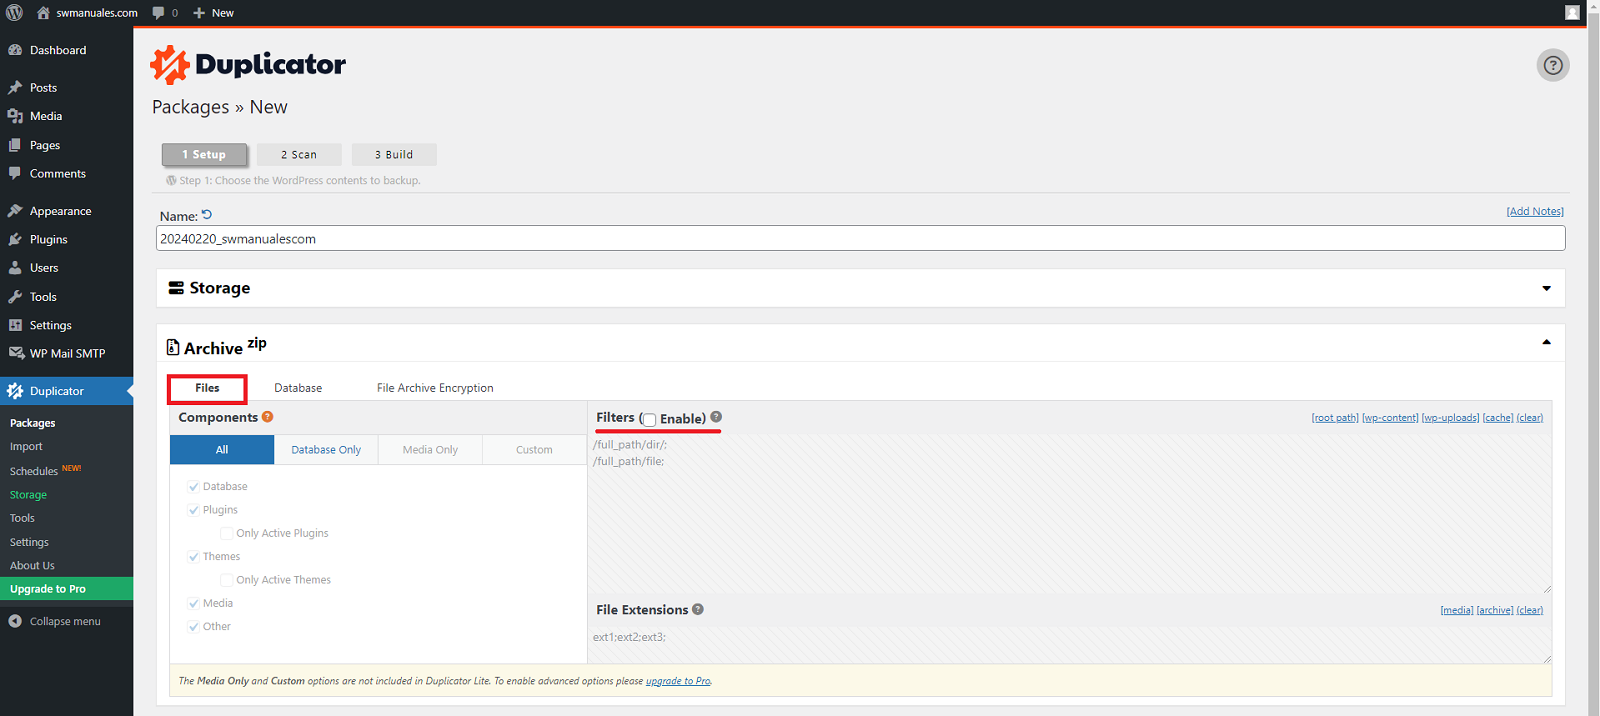
- Storage. We will leave the default options checked, although in the free version of the plugin we can indicate if we want to filter from the compressed file some directory paths of our website that we want to exclude from the copy.
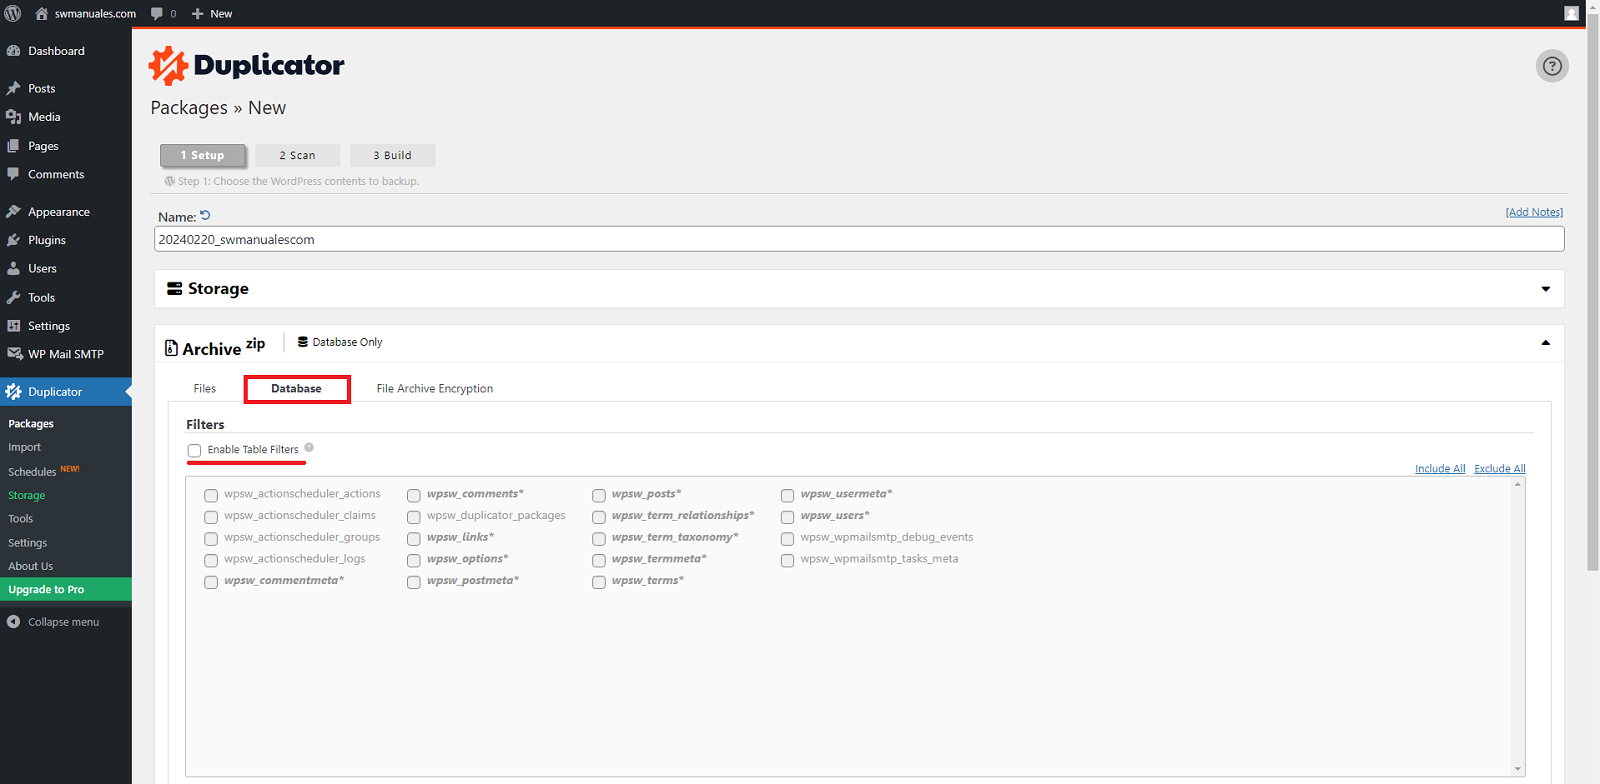
We can also exclude some tables in our database that we do not want to export:
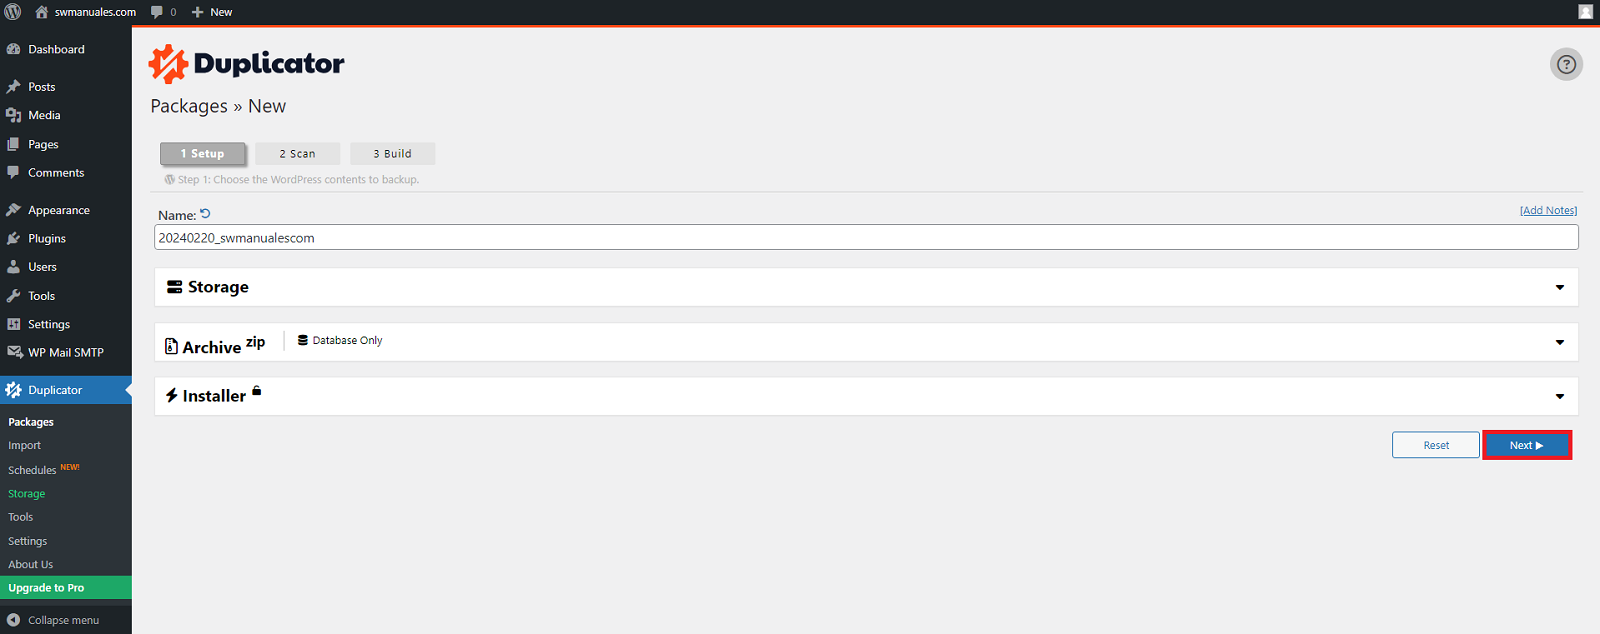
We will continue with the process of creating the new package by clicking on the "Next" button
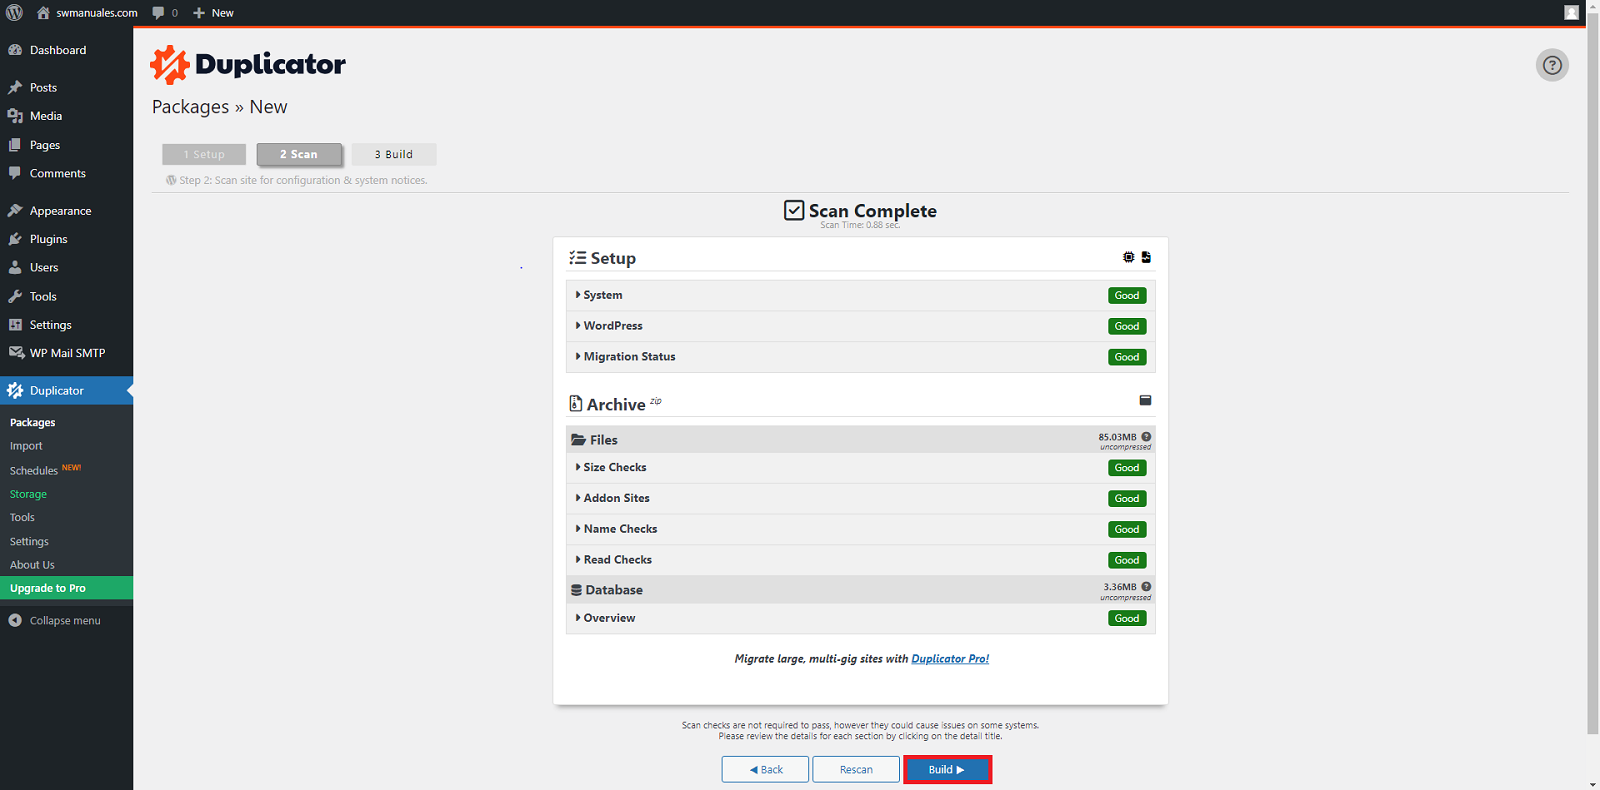
Before creating a backup of the website, Duplicator analyses a number of variables to determine whether it is possible to proceed. Once you have checked that all the analysed options appear to be valid you can click on the "Create" button.
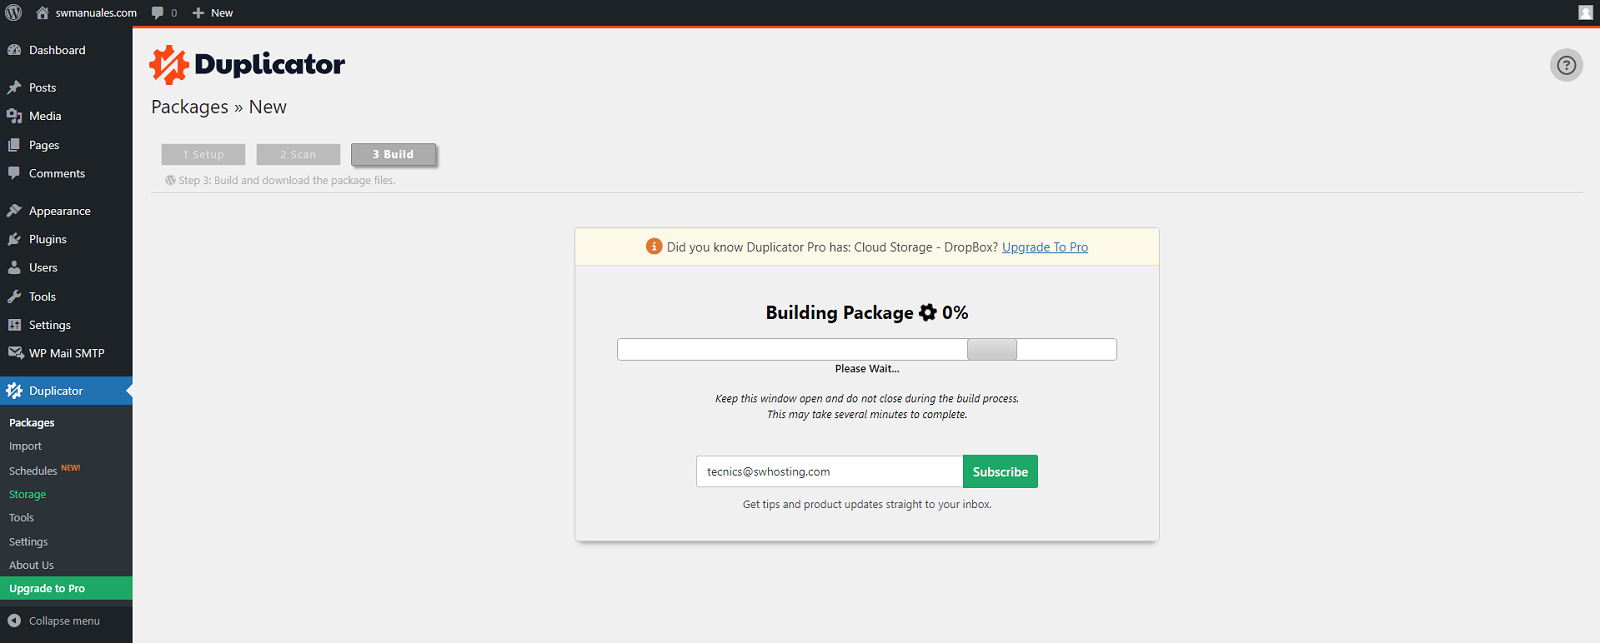
The process of creating the package will start:
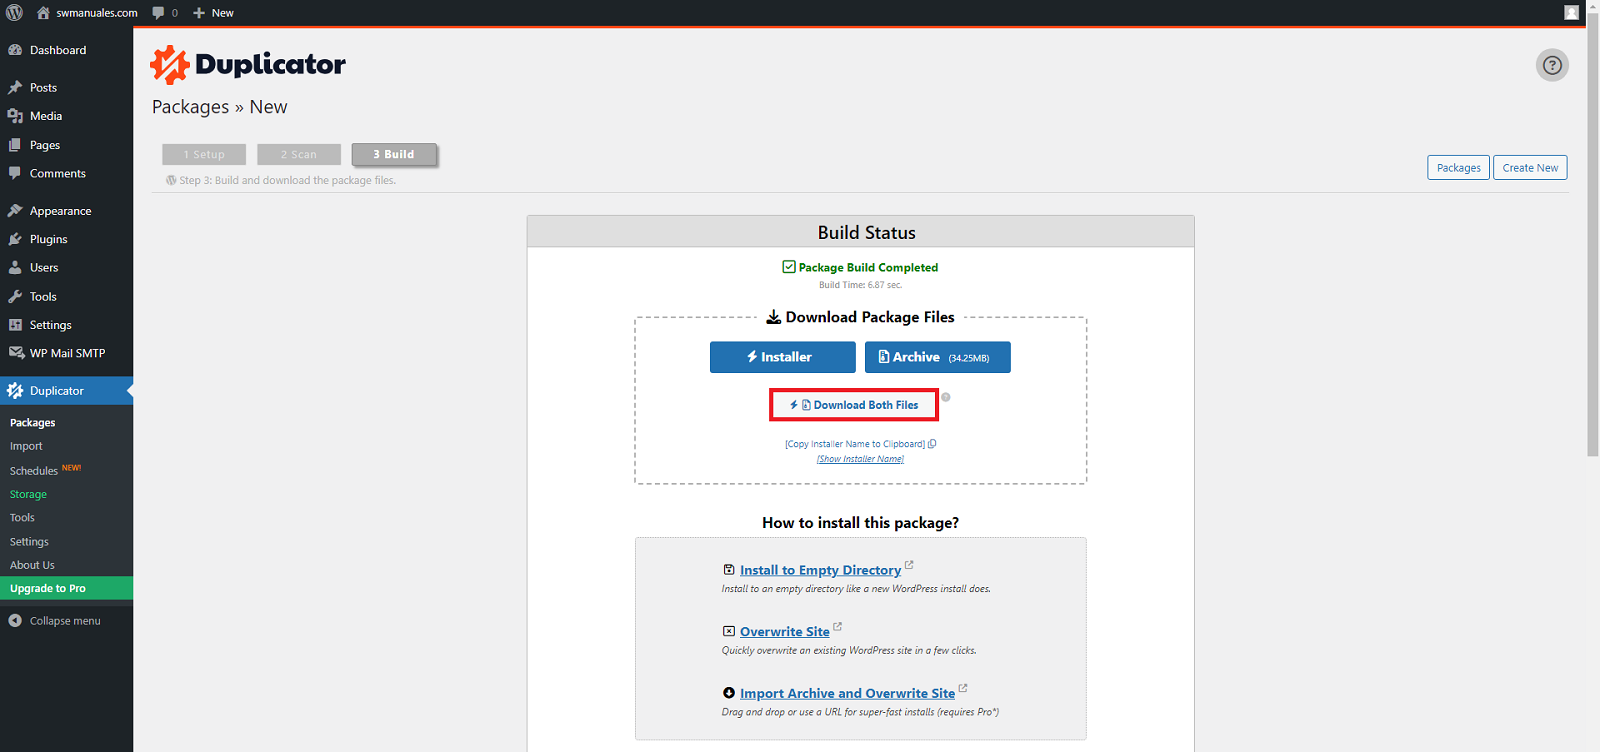
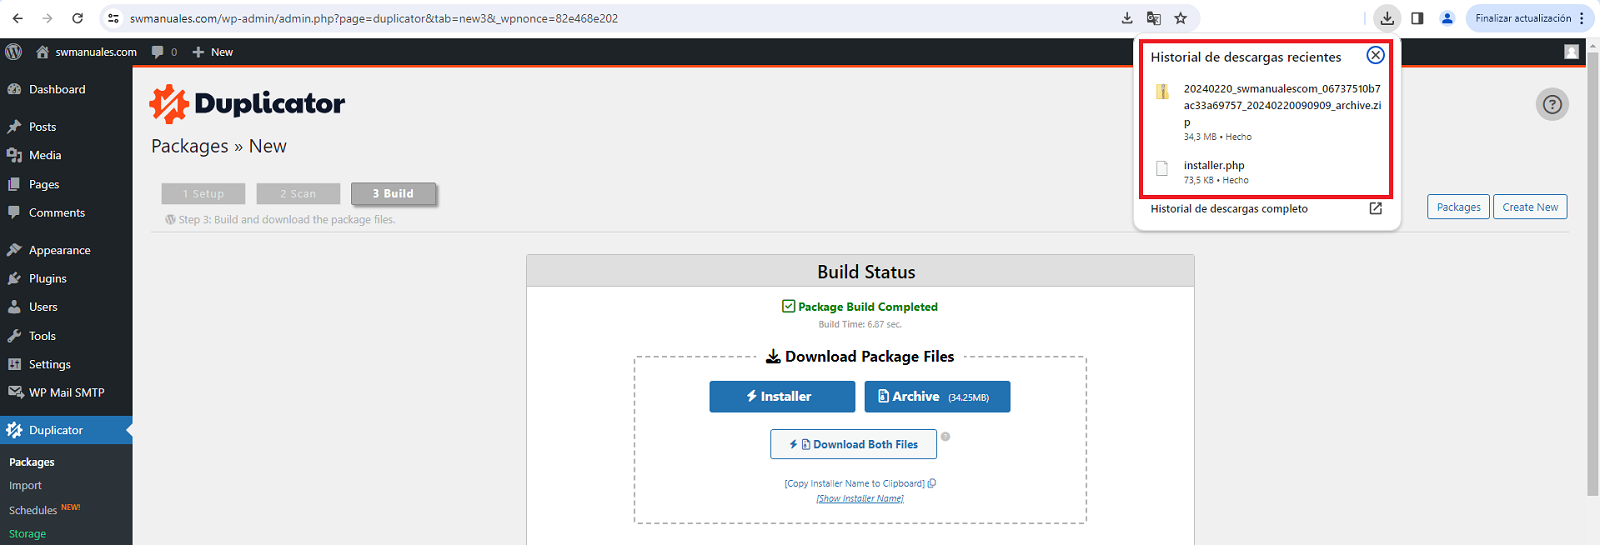
Once the creation of the package is completed you must click on the button "Download both files" which will be the installer with extension .php and the .zip file that will include the content of the website and its database. The two files will be downloaded from your web browser to the download folder on your PC.
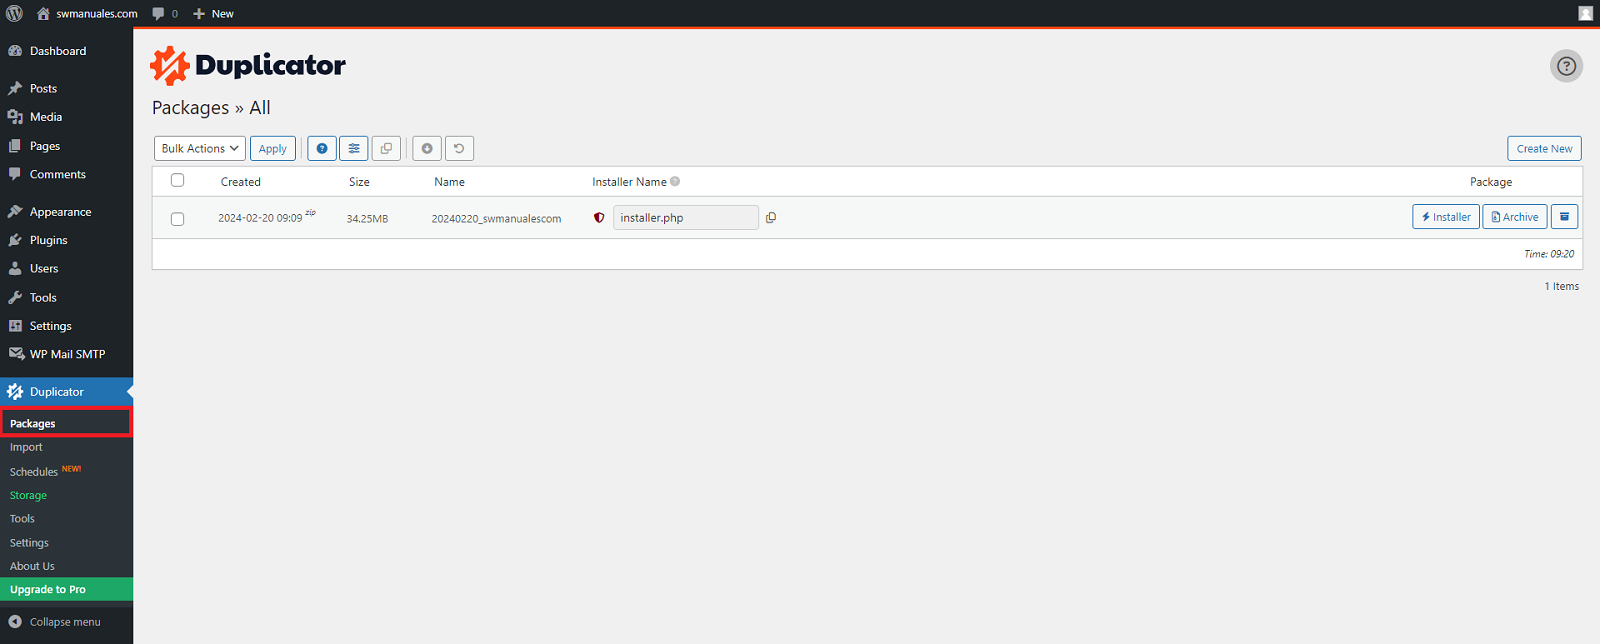
You can also download these files later as they are stored and accessible from the Packages section of the Duplicator plugin in your WordPress dashboard.
Step 3: FTP upload the package created with Duplicator
FTP upload the installer.php and .zip files to your new host
To upload the files created with Duplicator you must use an FTP connection, which connects your PC to your new hosting. If you don't have an FTP account in your new hosting and it is in SWHosting you can create it following the instructions described in the following manual:
How to create an FTP account in SWPanel
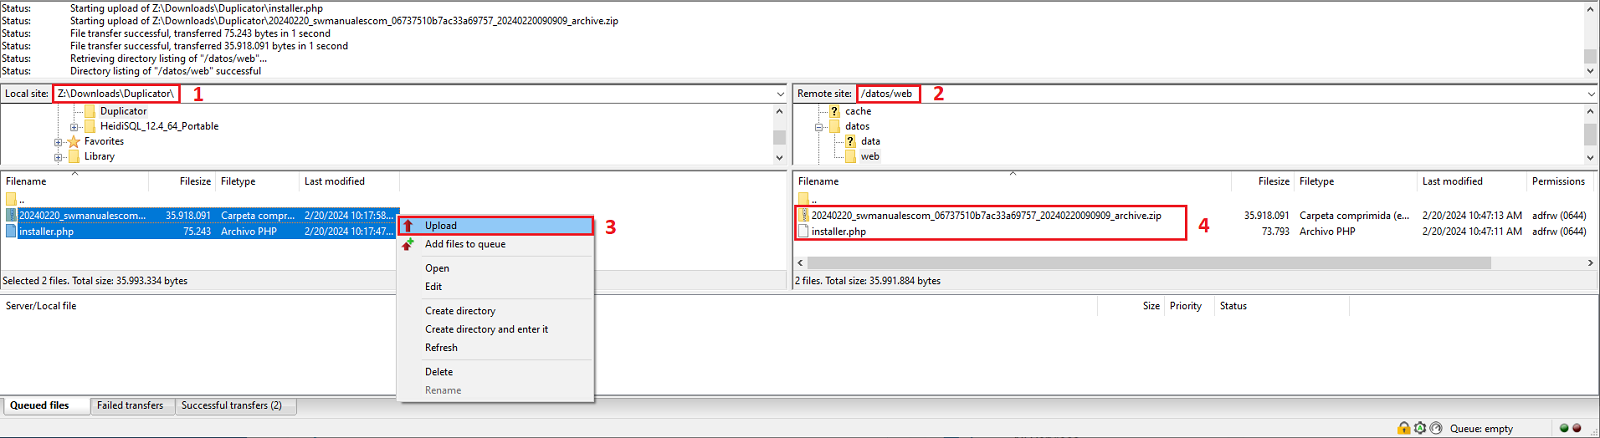
Once you have connected via FTP your PC to your new hosting you must follow the following steps:
1. Browse your computer for the installer.php and .zip backup files created with Duplicator.
2. Browse your server for the directory on your new hosting where you want to migrate your WordPress to or restore it. If you are restoring a backup, delete all WordPress files you see in the directory.
3. Upload the two installer.php and .zip files created with Duplicator.
4. Check that the files have been uploaded correctly to your new hosting.
Step 4: Create the database
Create the Wordpress database on your new host
In order to import the database previously exported with Duplicator to your new hosting you must create an empty database. If you don't have a database in your new hosting and it is in SWHosting you can create it following the instructions described in the following manual:
How to create a MySQL or MariaDB database in SWPanel
When creating the database in your new hosting you can define the same name for the database, the same user and the original password or you can specify completely new ones, which you will need for the subsequent import of the data.
Step 5: Run the installer file
Run the installer.php file on your new host
To start the installation process of Duplicator you must enter the following address www.tunuevaweb.com/installer.php in your browser.
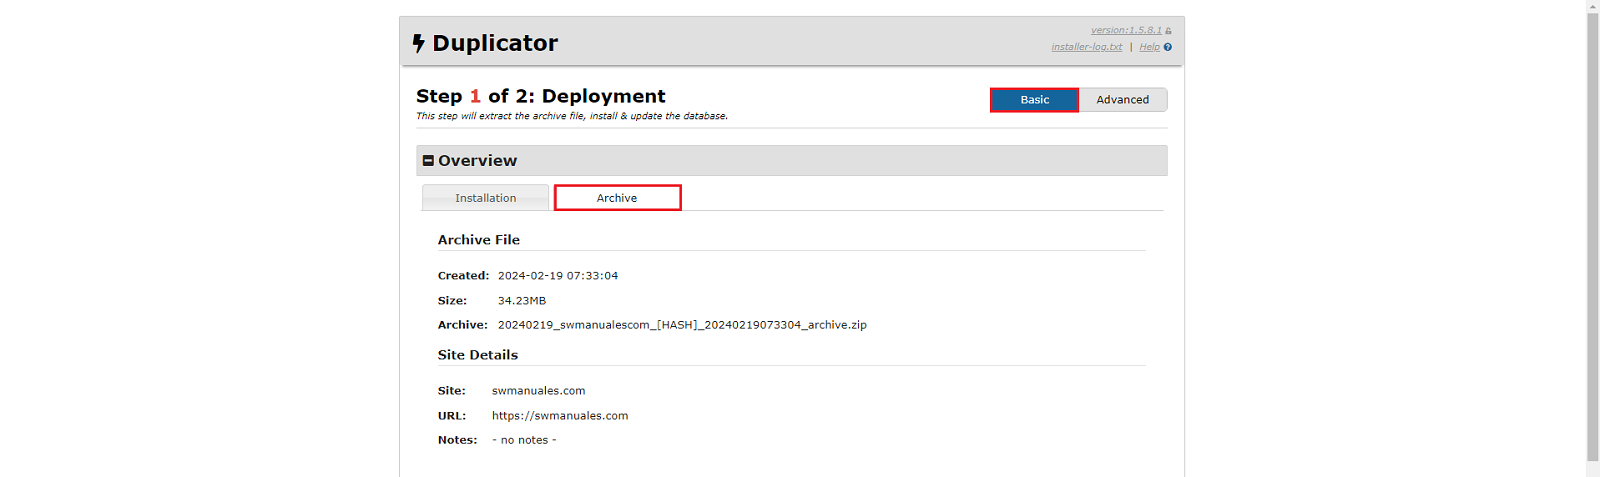
Then Duplicator will check the new web hosting and the files you have uploaded before via FTP to start the deployment wizard in Basic mode and with the following configuration blocks:
- "Overview". Provides information about the file created by Duplicator and the website details.
-
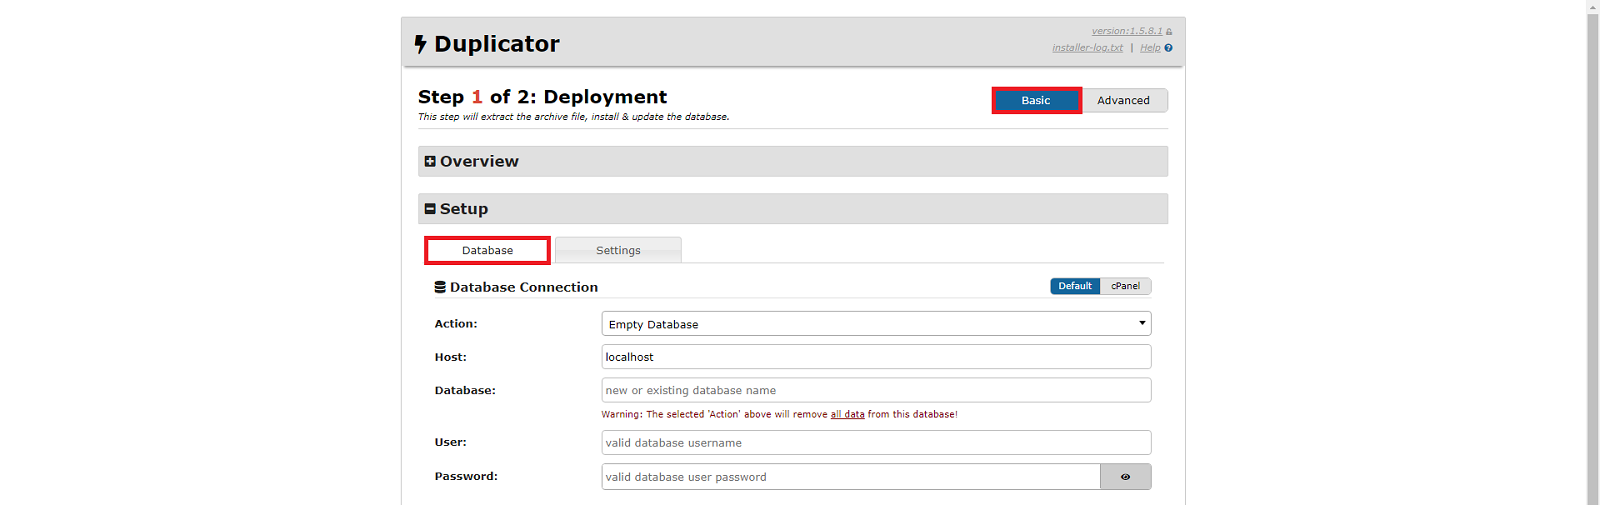
"Setup". The next step defines the actions and credentials needed to import the existing data from the original database into the new database. In this second step of the installer you must enter the following fields from the database you have previously created
-
a) "Action": As we have previously created the empty database we will leave the default option "Empty Database"
-
b) "Host":: If the web server and the database server of your new hosting are the same we will leave the default option "localhost" . In case your database server is different from your web server you will have to indicate the IP or name of the database server.
-
c) "Database": You must indicate the name of the database previously created.
-
d) "User": You must indicate the name of the database user.
-
e) "Password": You must enter the password of the database user.
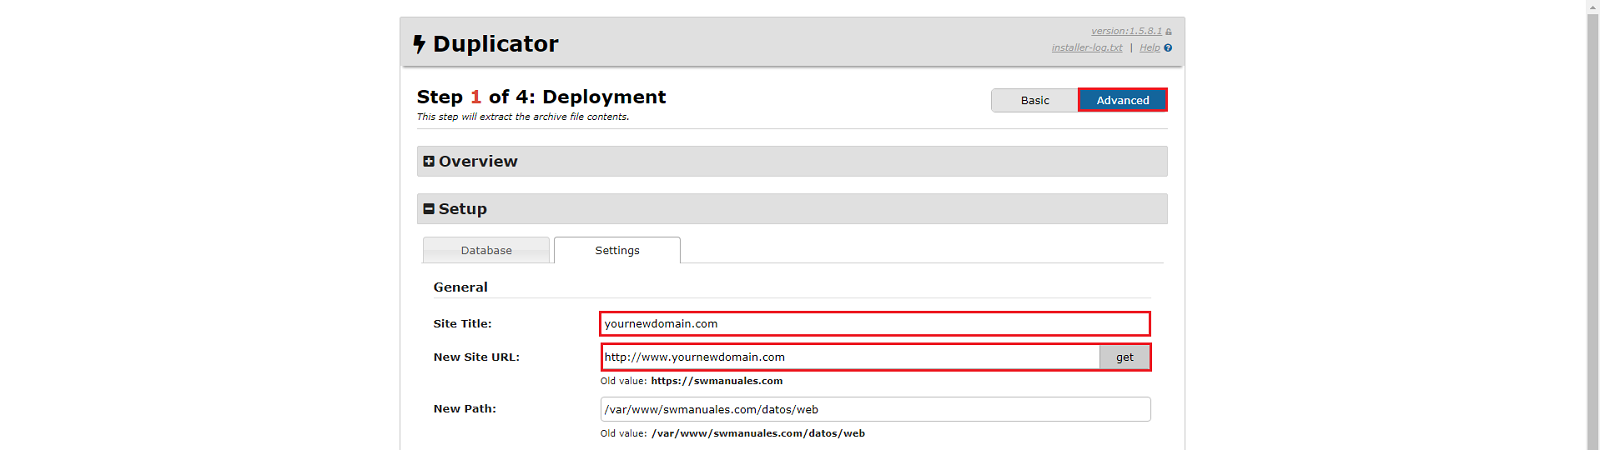
danger In the process of migrating your WordPress to your new hosting you may want to change the name of the domain for which your website was originally created. To do this you can run the Duplicator wizard in "Advanced" mode, go to "Setup" > "Settings" and define the "Site Title" and "New Site URL" fields with the name and URL of the new domain respectively.
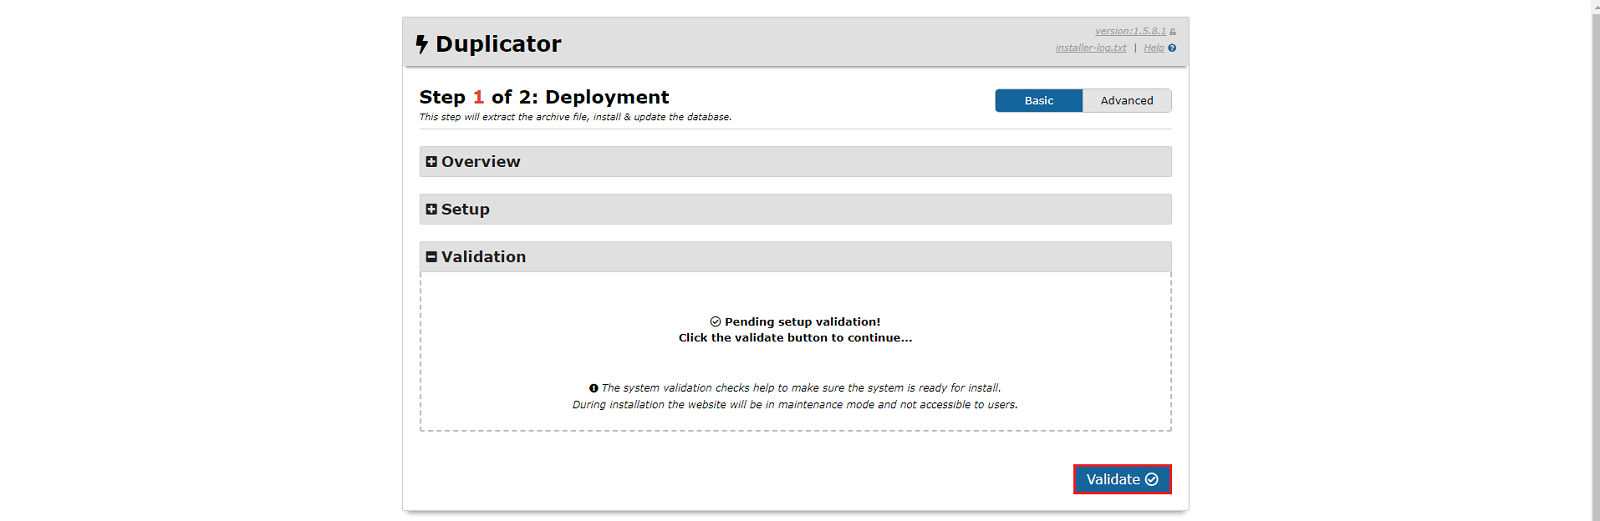
- "Validate". The next step is the validation of the data we have configured in the wizard by pressing the "Validate" button.
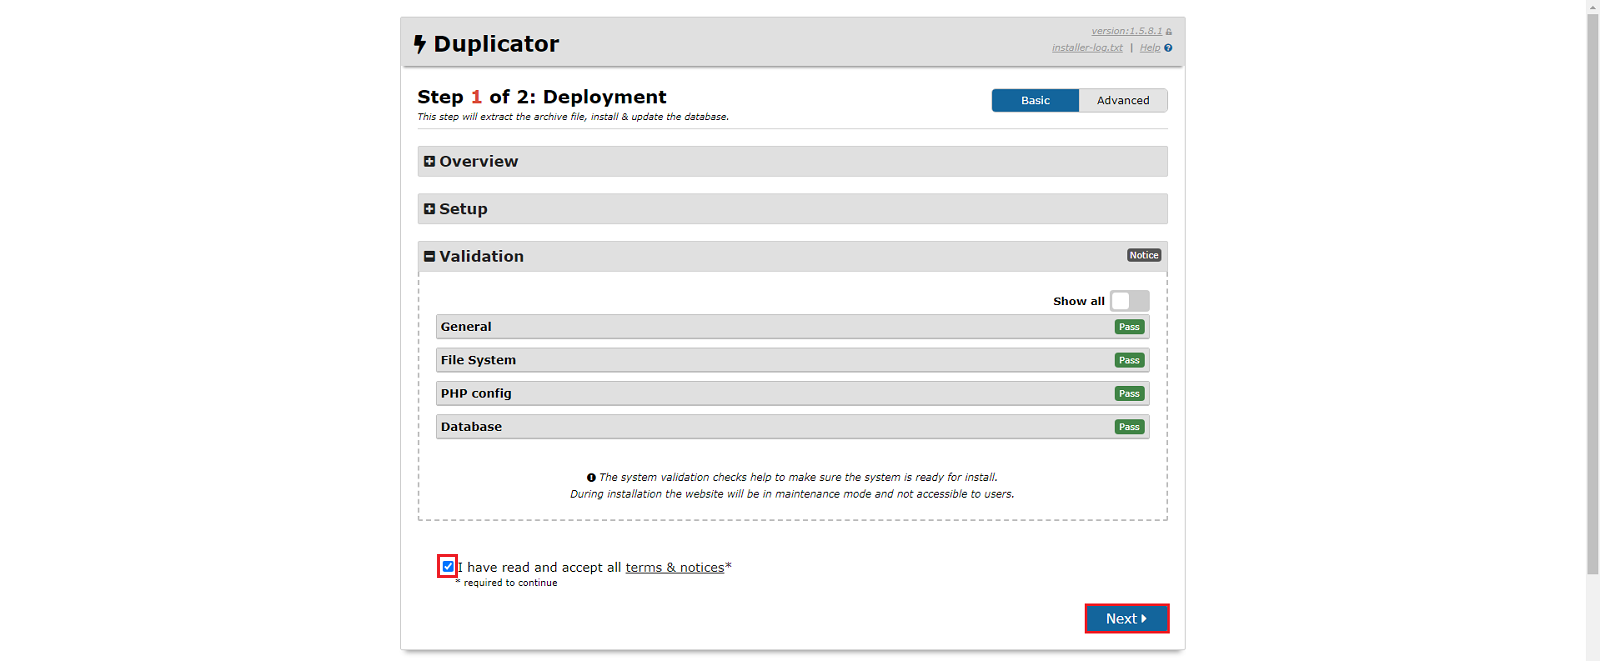
Once the validation is successful we can continue by pressing the "Next" button
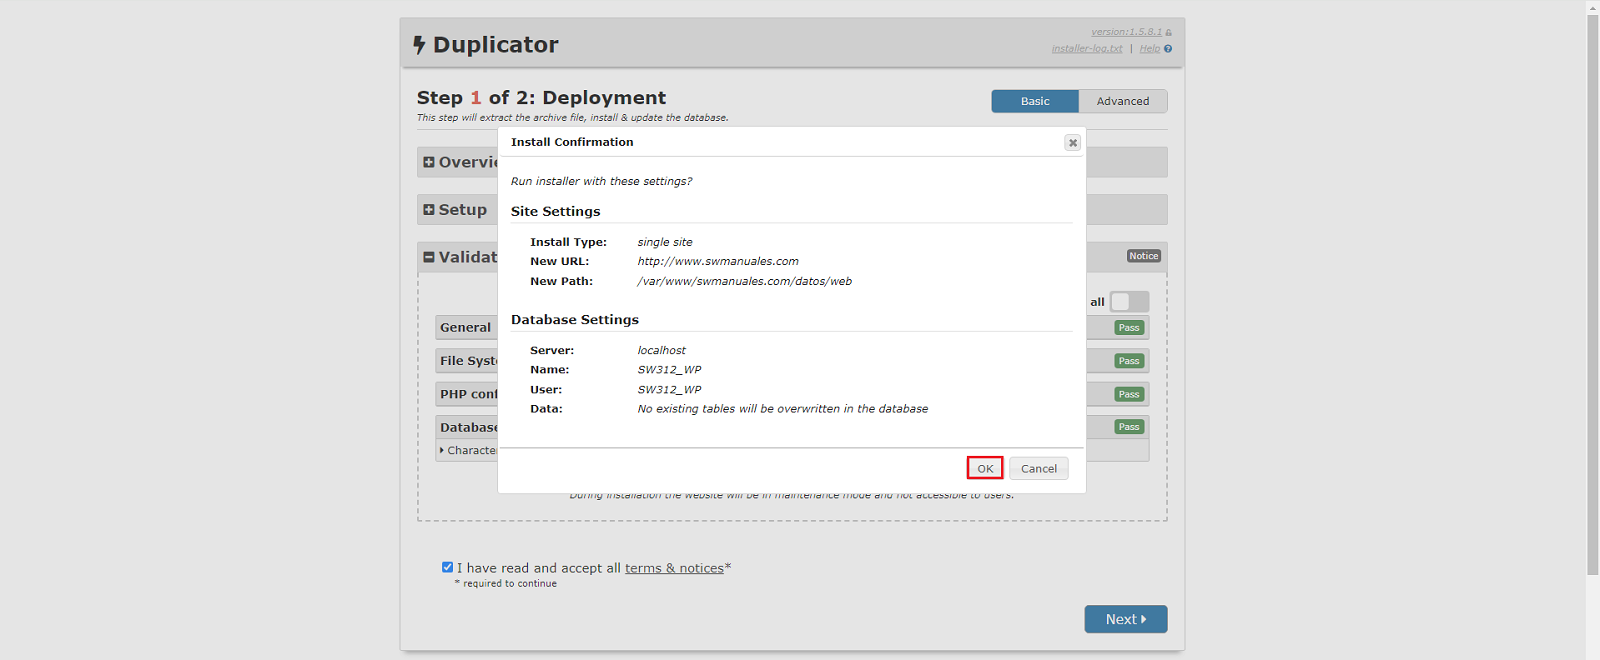
To access then to the installation confirmation window where we must press the "OK" button
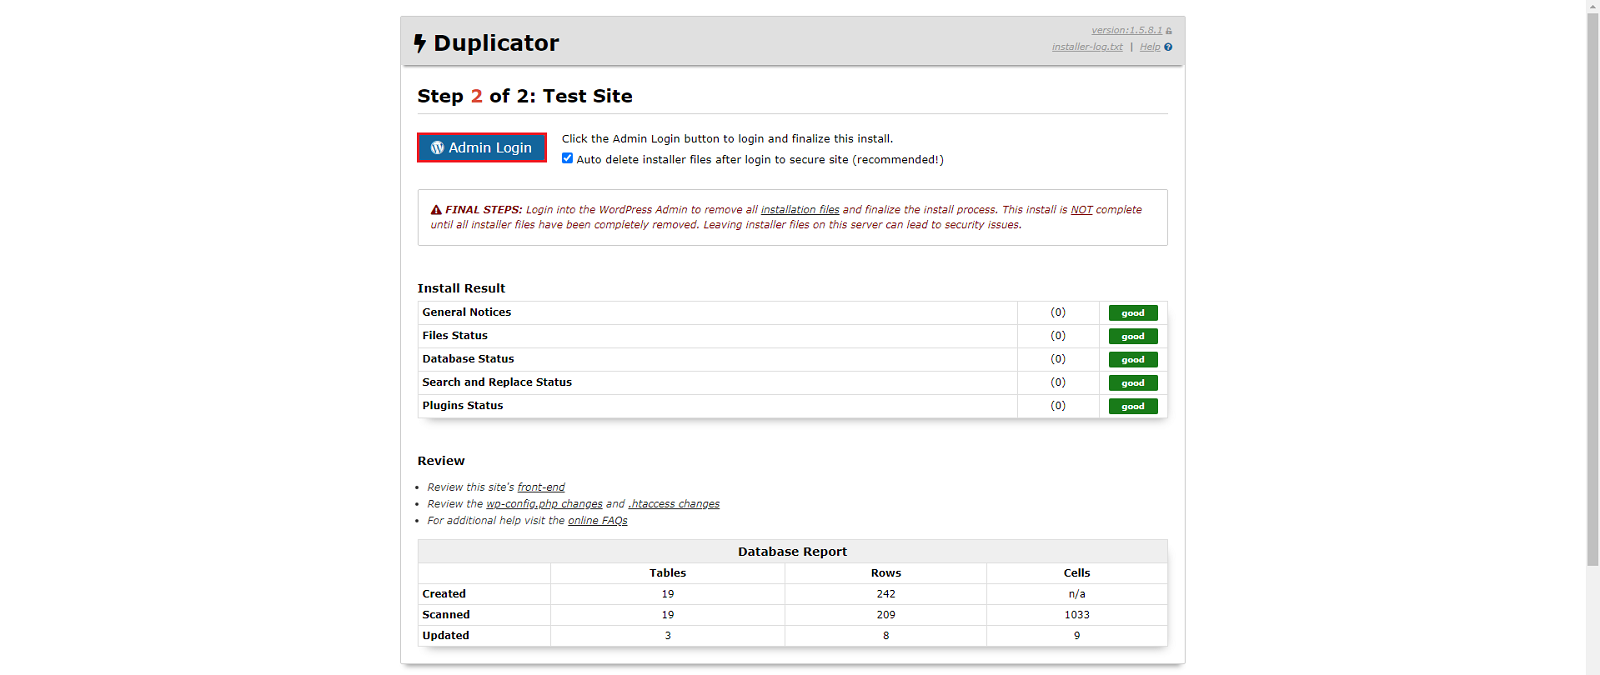
After a few moments "Duplicator" will show us the report on the installation of our new site and will indicate us that we must click on the button "Admin Login" to finish the installation.
Next, the window to access the administration panel of our new Wordpress will open.

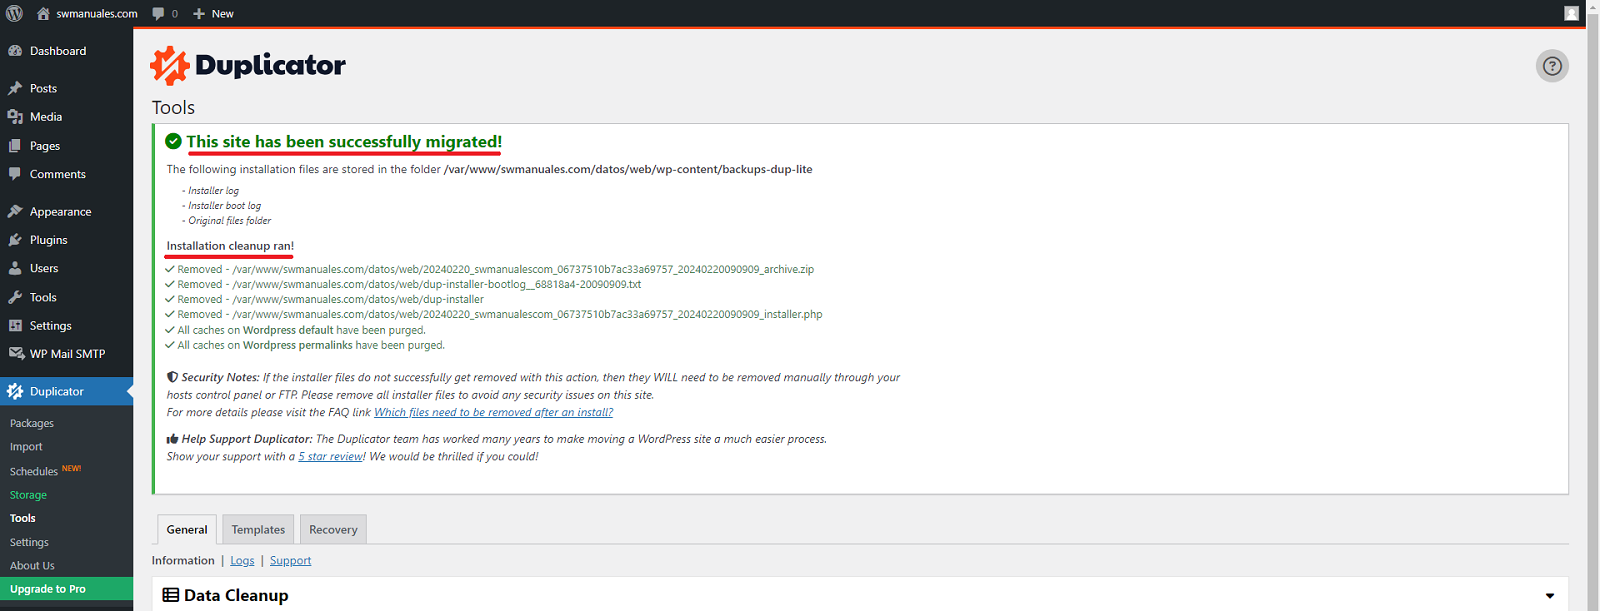
Login to your new WordPress and Duplicator will tell you that the website has been successfully migrated and that all the installation files have been automatically deleted.
success Congratulations! You have successfully migrated and configured your WordPress with the Duplicator plugin.
Remember that if you don't have a hosting service for your WordPress you can have it easily with just one click at SWHosting.
cta:hosting_wordpress